How to print and glue a pattern Grasser
How to print a pattern
How to print and glue a pattern GRASSER / detailed instructions:
Before you print a pattern, you need to check the printer settings. It must be done so that when printing does not distort the size of the pattern.
Print by Test Square №2.
You received a file with a pattern in pdf. Find the file Test Square №2 in your order and download it. Or use first sheet in file with test square №2.
Important! Always print the Test square before printing the pattern!
Important! Do not print the file from the browser; note that printing from the browser may be incorrect. You need to print the pattern by first downloading the file to the device.
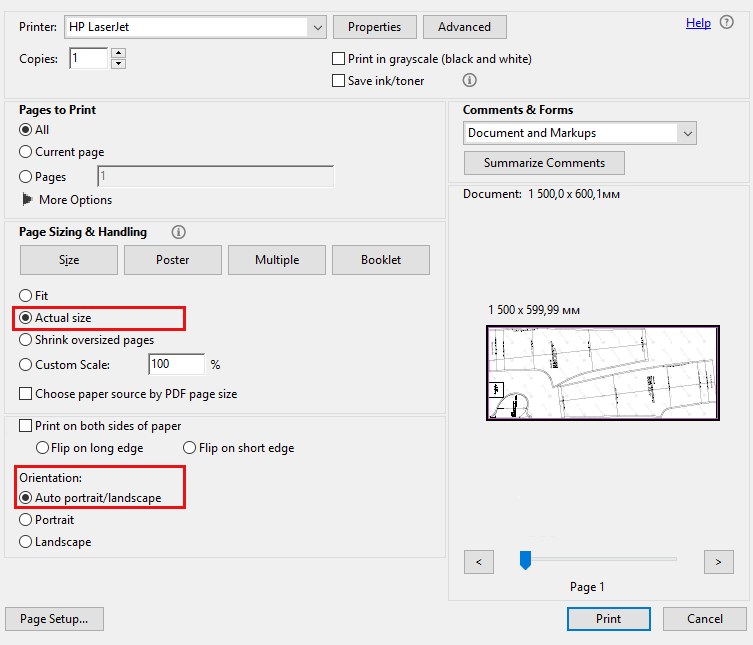
1. Open your pattern file and select "Print" from the menu.
2. Choose the device you want to print from the list.
3. Choose "Custom scale 100%" in the printer settings menu.
4. Choose "Auto portrait / landscape" In the "Orientation" settings .
Note! There is no need to put a tick in the box "Choose a paper source by pdf page size"!
Print Test Square №2 with these settings.
Measure side of the square. If the sides are 10 cm by 10 cm, then in this case you can open a file with a pattern and with the same settings print out sheets with a pattern. If the sides of the square are not 10 cm by 10 cm, then you need to return to the settings and change them in the "custom scale".
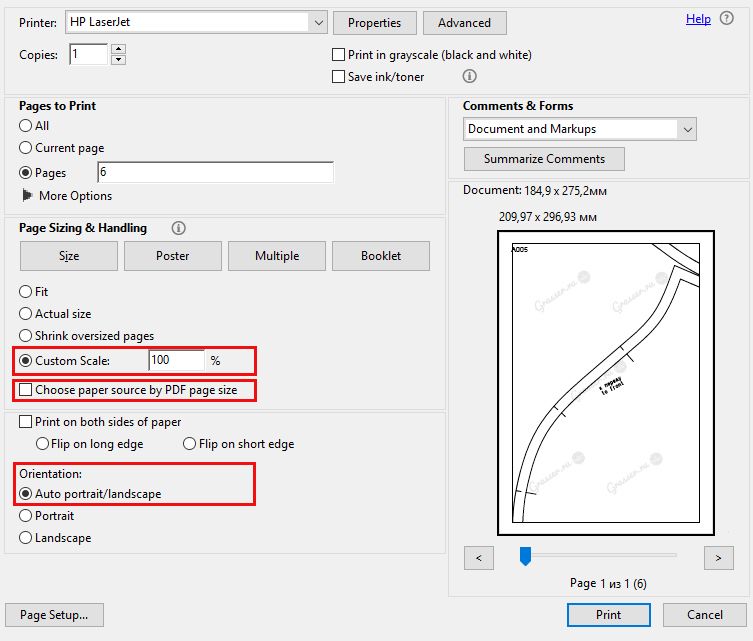
With these settings you should succeed, and you can print a pattern. We recommend opening files and printing from Adobe Acrobat Reader. All the screenshots above and print settings are for this program. If you use another program to print, the print settings may vary. A guide for the correctness of the size of the pattern is a printed Test Square №2 10 by 10 cm, which comes complete with your pattern.
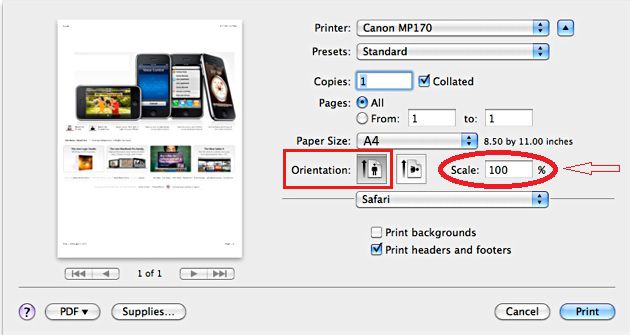
Brief instructions for printing for MacBook owners
1. For the access to the additional settings, click the blue button (to the right of the "Printer:" drop-down menu). The print dialog box is displayed.
2. Select the settings. Here you can immediately set the scale. For the Test Square №2 is 100% suitable.
Next, print a pattern with the selected settings.
HOW TO FILE PRINTED PATTERN
After printing out the pattern, you can proceed to its "assembly".
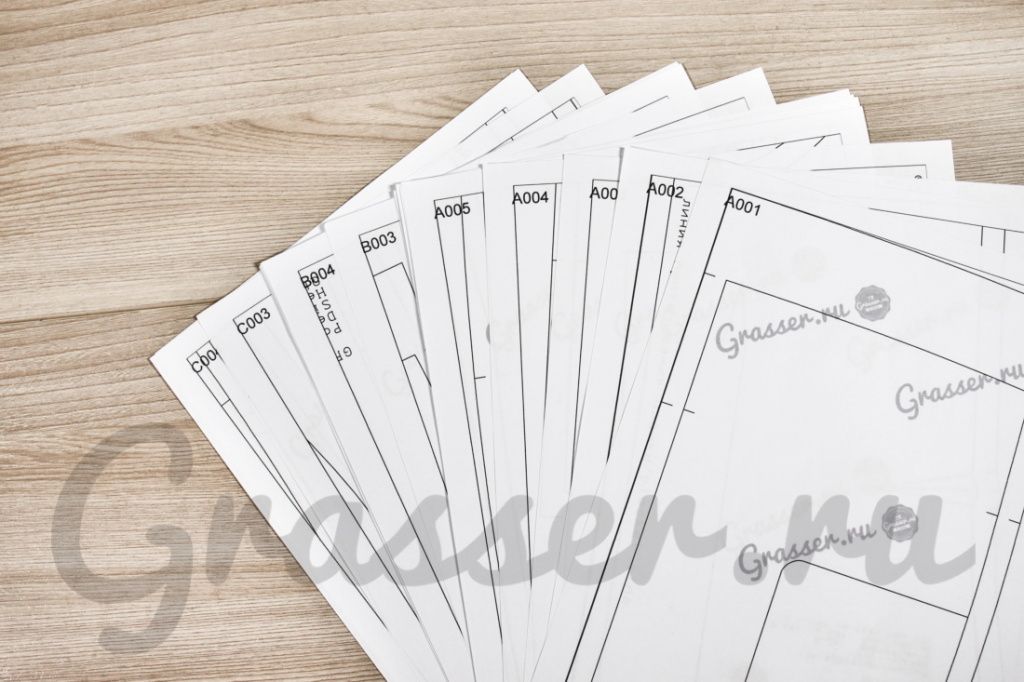
All the sheets have a letter with a number in the upper left corner.
This way you can recognize the top and bottom of the sheet.
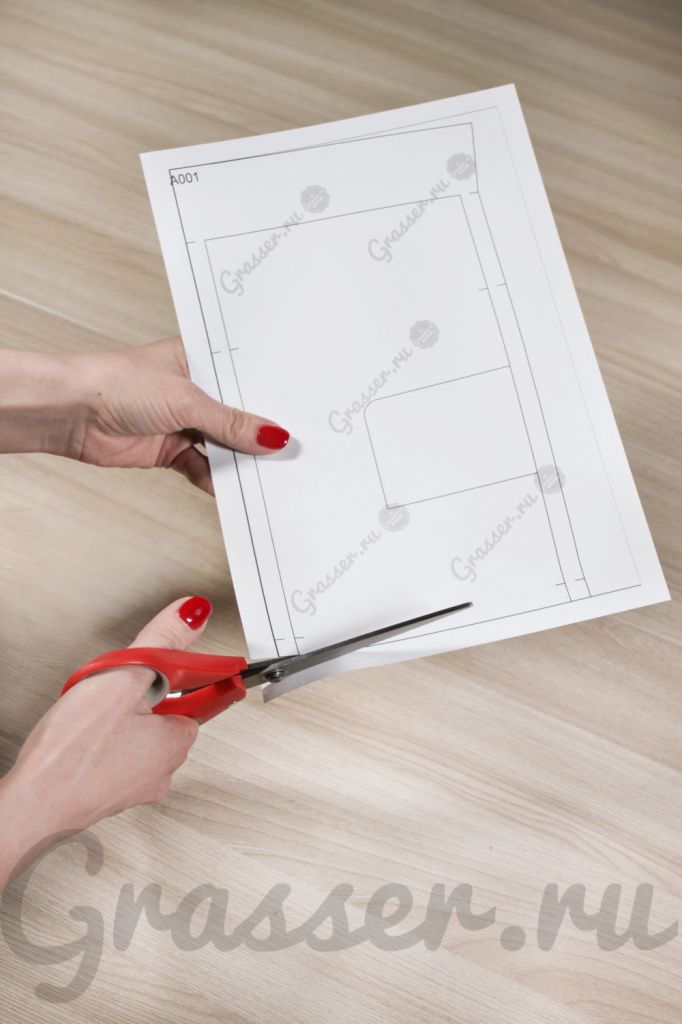
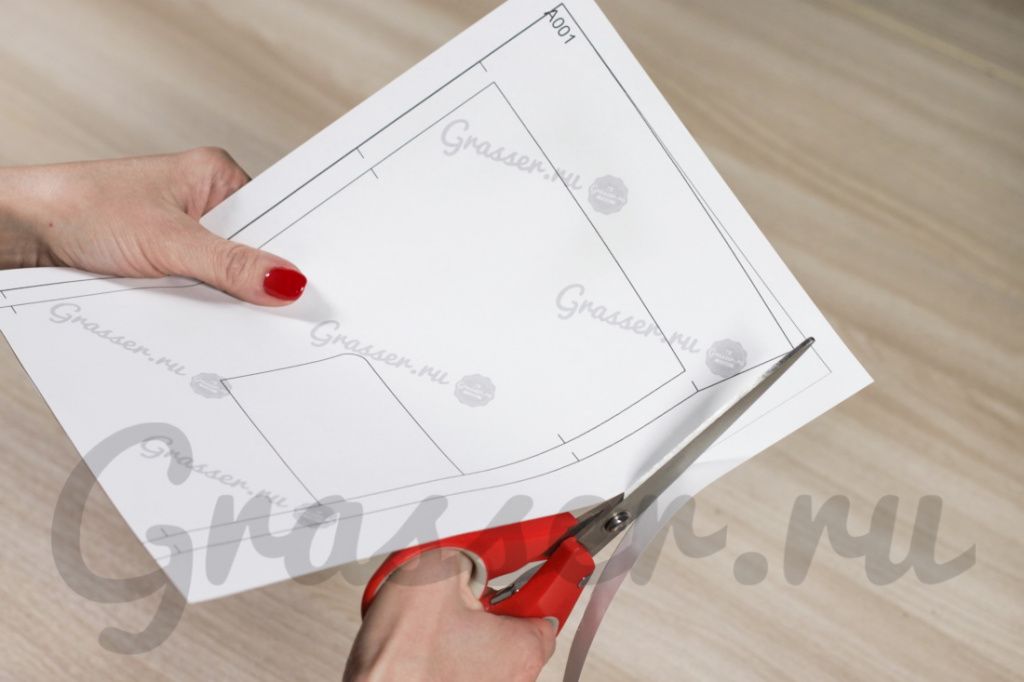
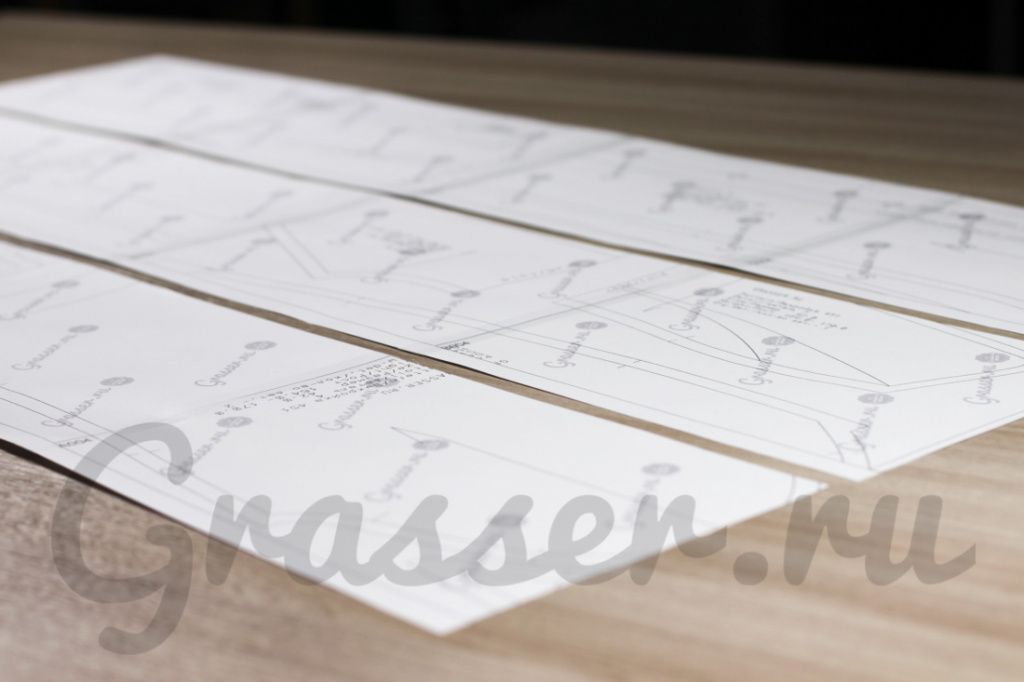
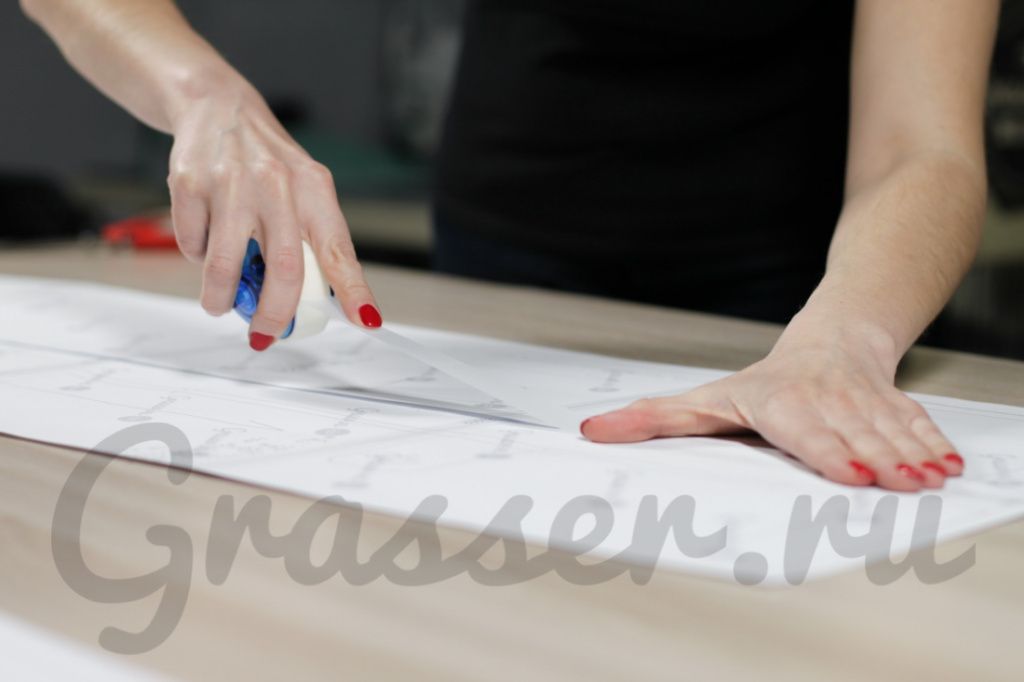
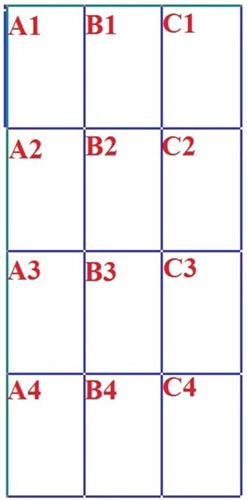
1. There is a frame around the edges of the sheets, cut it from the bottom and right. Now you need to glue the sheets according to the marks on the margins (A1, A2, ... B2, B3 ...). Spread the row A into a column. It is located vertically.
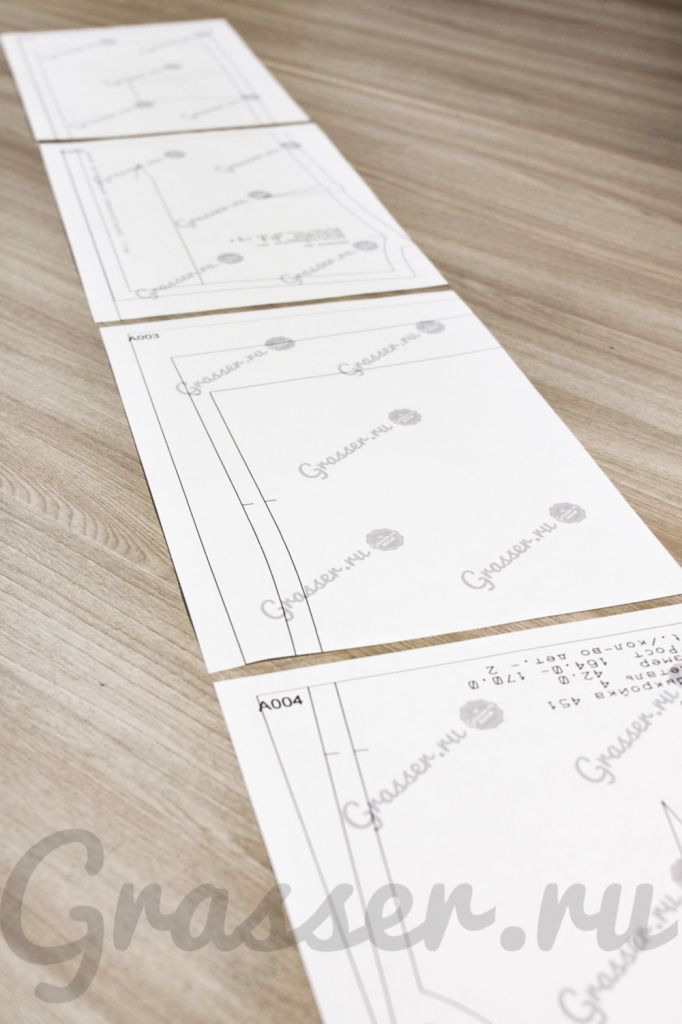
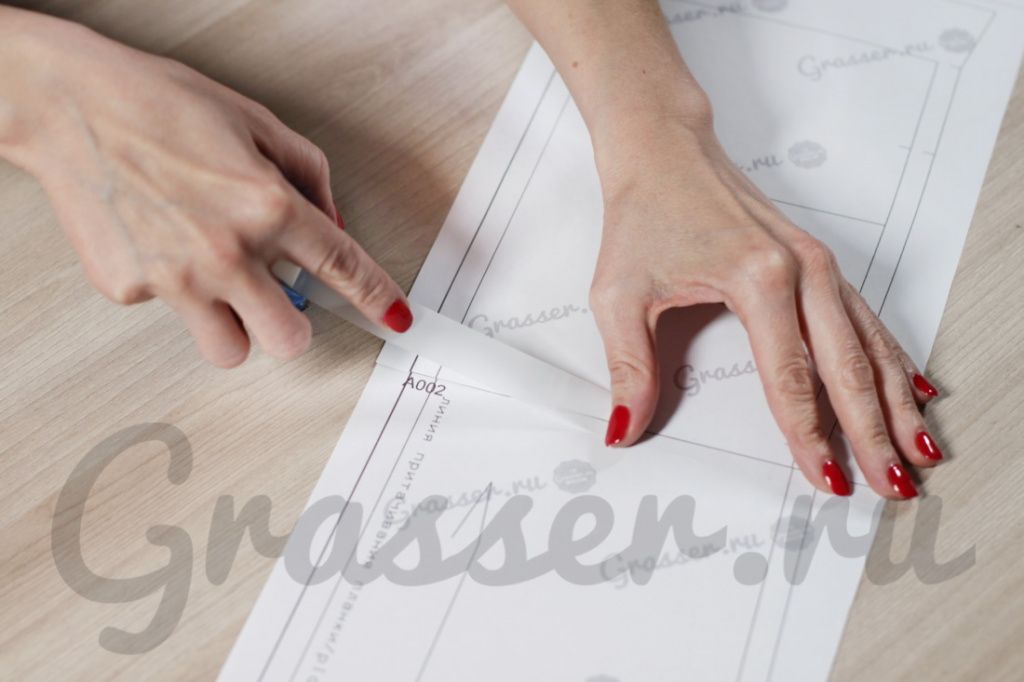
2. Glue the sheets of row A with each other. Each subsequent sheet is under the previous one. The frame line serves as a junction.
3. Glue the next row with the letter B in the column and put each letter in the column.
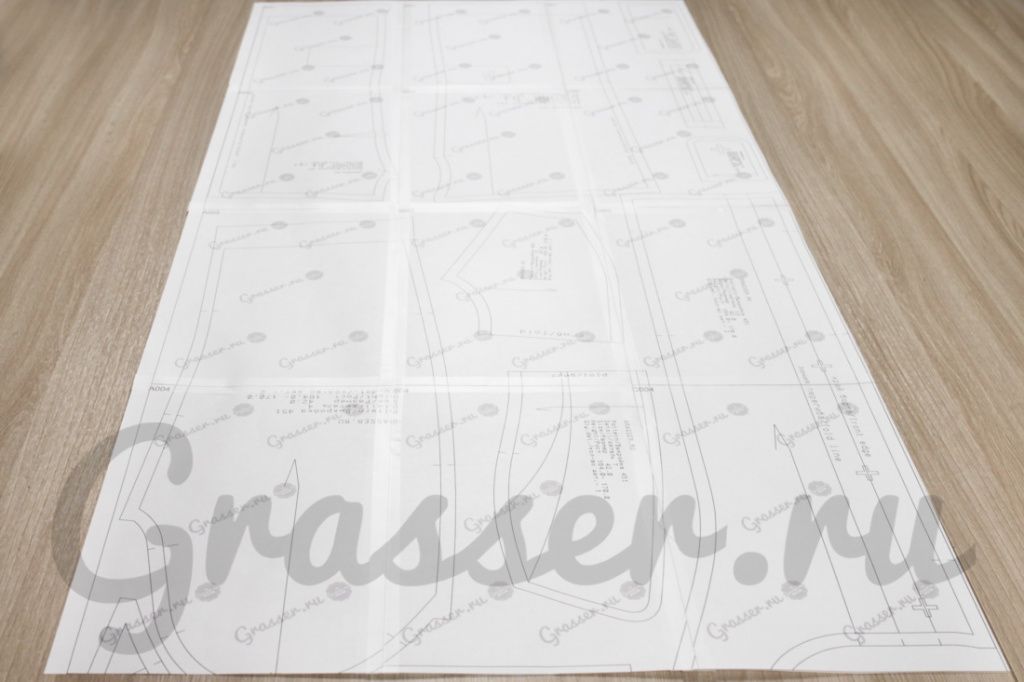
4. Glue the posts together, joining them in alphabetical order and glue all the sheets carefully with scotch tape. As a result of the gluing, horizontally the resulting pattern pattern must consistently follow the letters A, B, C, D, E ..., vertically the figures 1, 2, 3, 4, 5 ..
The principle of sheet assembly is shown in this diagram. The number of letters and numbers can be different (since the patterns are large and small), but the principle should be the following: the letters A, B, C, D, E ..., the numbers 1, 2, 3, 4, 5
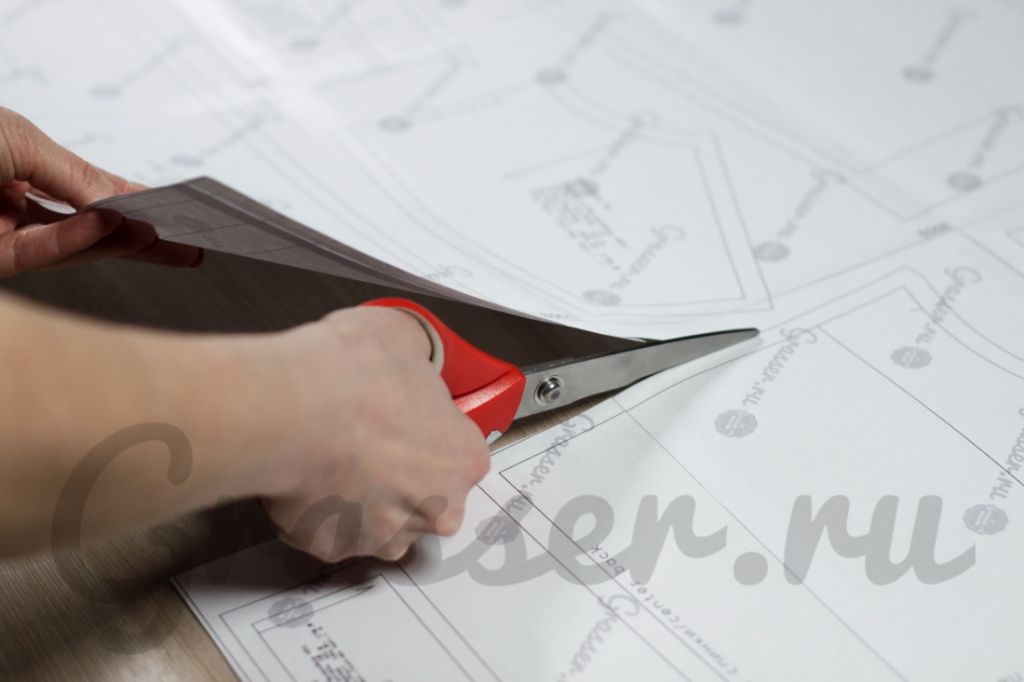
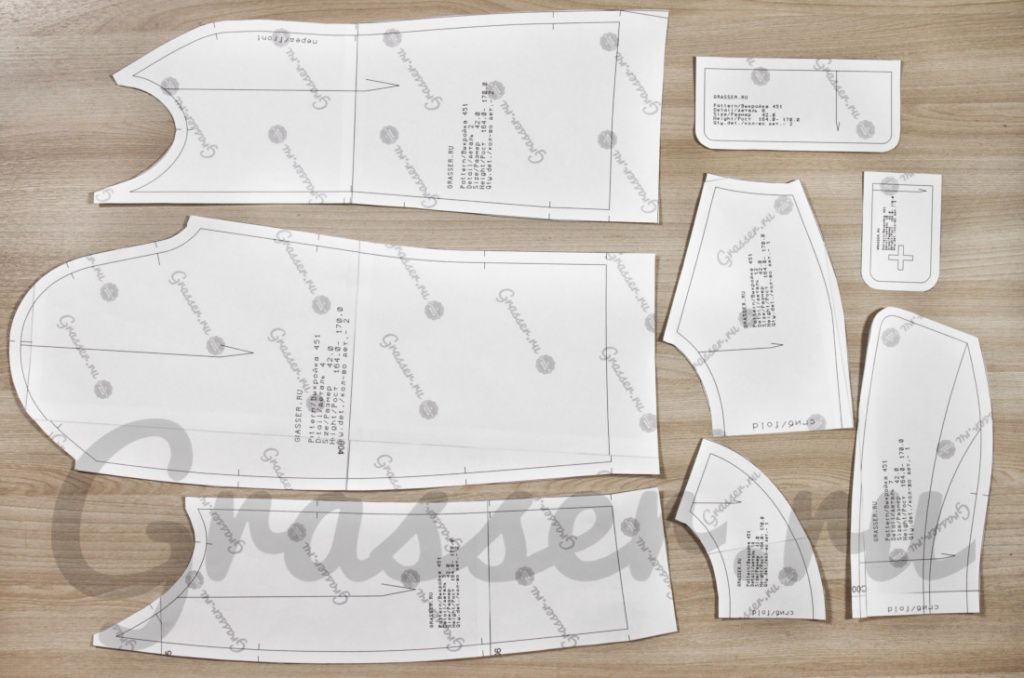
5. Cut out the details. Pattern is ready.
We hope, that at you all has turned out!) Success in tailoring!
Instructions for printing on a wide-format plotter:
1. Open the PDF pattern in Adobe Reader (there are settings "real size", "Auto portrait")
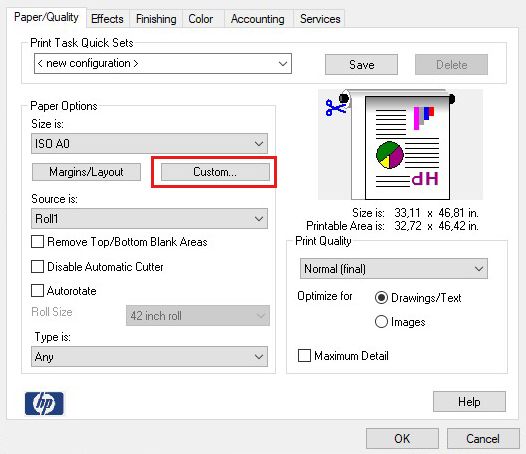
2. Next, open the "Properties"
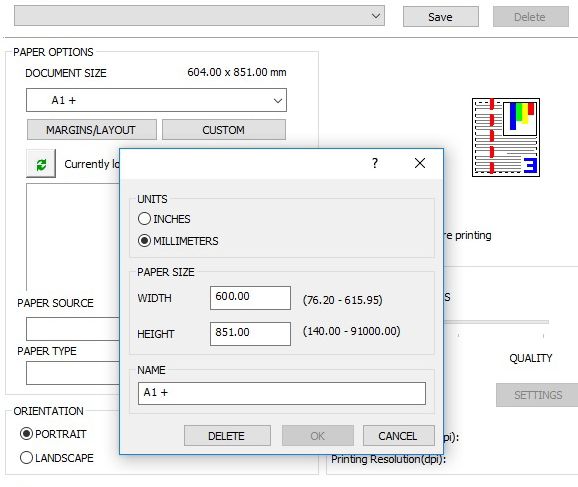
3. In "Properties" open "Custom" and there enter the width and length of the file in the fields (These numbers can be viewed in the lower left corner of the screen by moving the cursor over it).
