- PATTERNS
- VIDEO TUTORIALS
- BLOG
- FEEDBACK
- CONTACTS
- FAQ
- Main page
- Blog
- Sewing with GRASSER patterns
- Sewing a sweatshirt using grasser pattern with Lida Fedichkina
Sewing a sweatshirt using grasser pattern with Lida Fedichkina
Hello to all sewing lovers and those who just want to learn how to sew for themselves! People write to me that my experience of sewing using GRASSER patterns was useful for many, so I don’t stop and continue writing my reviews for the column: «SEWING USING GRASSER patterns». :) When I first heard about GRASSER, I started following their creative works and amazing Sunday workshops, and one of the first things the girls sewed was sweatshirt # 69 with raglan sleeves.
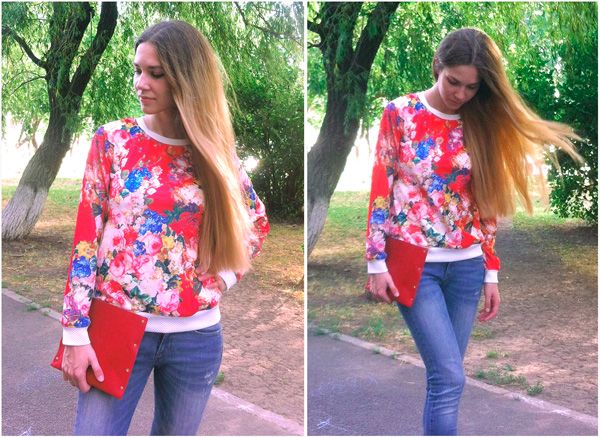
Of course I also wanted to sew the same garment for myself! This is one of the first patterns that I acquired last winter and my love for GRASSER began with it. :) I will tell you right now that even a beginner can sew this sweatshirt! And it can be your first hand-sewn garment!
I chose knit fabric for sewing. I printed the pattern on the printer, checked the test square, its sides should be 10cm*10cm. Since the printer does not print about 0.5 cm at the edges of the sheet, these margins should be cut off, but it is convenient to tape with overlapping, therefore, unprinted margins are left along the bottom and right edges, the top and left margins are cut off (you can do the opposite). :) You can cut off all margins on which the printer does not print, and tape the sheets end-to-end, without overlapping. I taped my sweatshirt pattern, cut it out, and got all necessary templates with seam allowances.
I transferred the patterns onto the fabric and cut them out. Now we can start sewing! :) I want to clarify that I sewed the garment on a sewing machine and an overlock, you can limit yourself only to a four thread overlock and then everything will be even easier! :)
1. First of all, I stitched the darts on the sleeves and ironed them on the back.
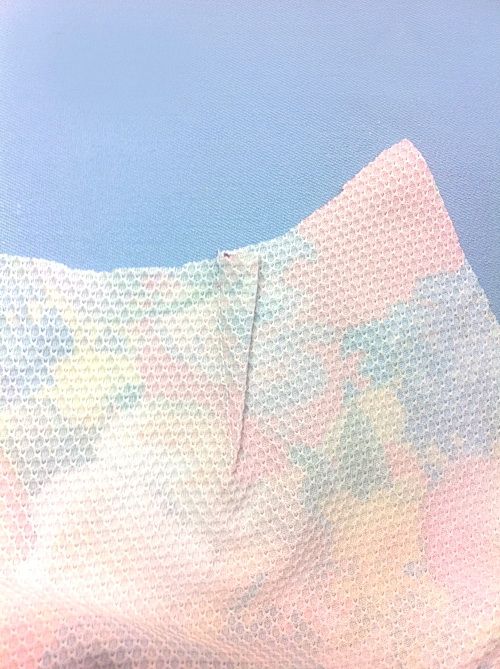
2. Then I attached the sleeves to the back and the forepart along the armhole, stitched, overcast with overlock and ironed the seam.
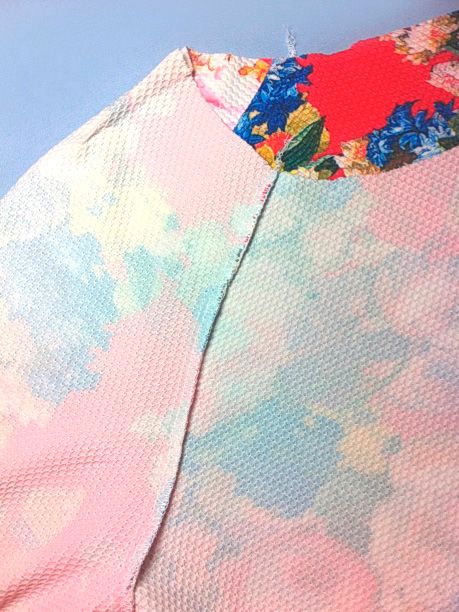
3. Next, I staystitched the side and sleeves seams, overcast and ironed the seams towards the back.
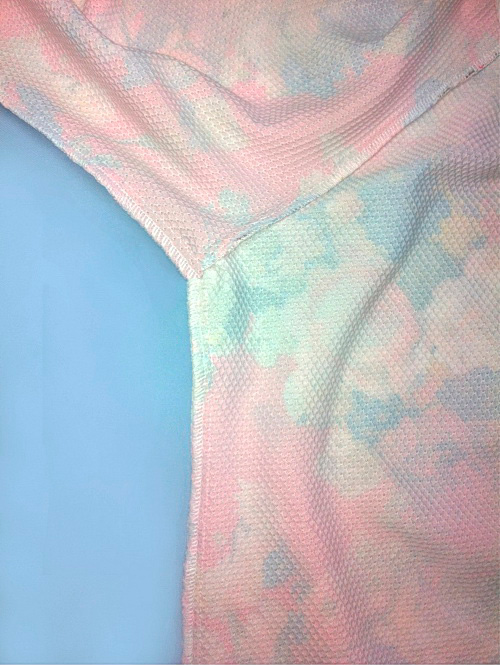
4. Stitched the edges of the neckline placket and ironed out the seam. I folded the placket in half and ironed the fold. Then I tacked the placket in the neckline. The neckline will be larger than the placket, so I pulled the placket evenly, easing the neckline over the placket.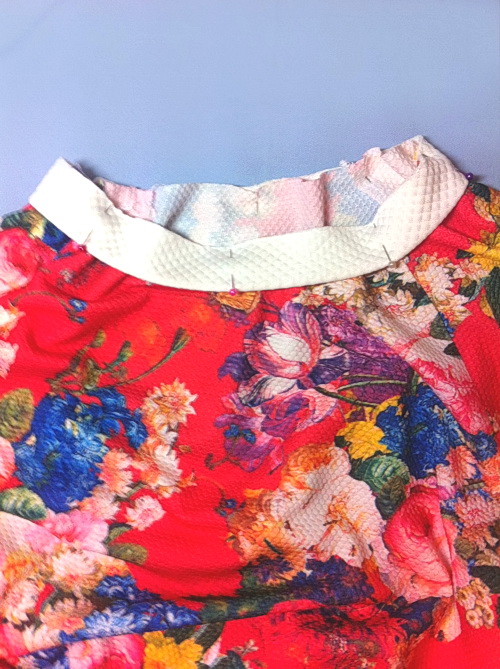
5. Then I stitched the placket, overcast the seam with an overlock, ironed it towards the garment and stitched a finish line.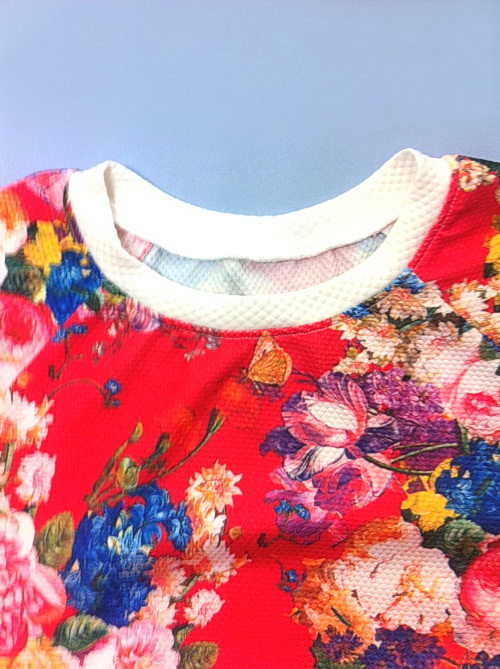
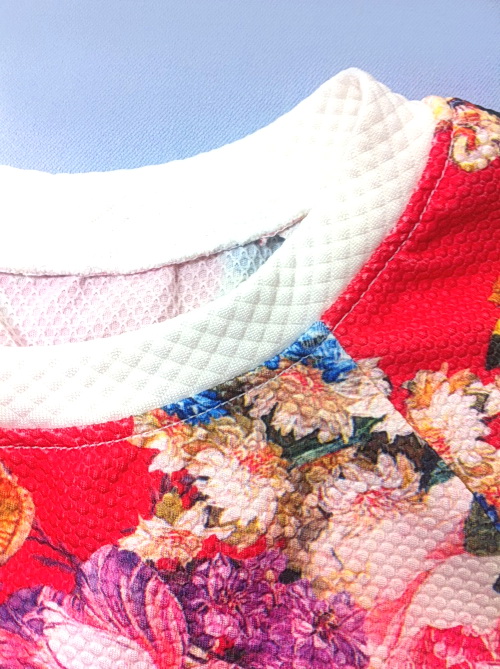
Then I also stitched the ends of the placket bottom and ironed out the seams. I folded the bottom placket in half and ironed the folds. I basted the placket to the bottom of the garment, pulling and easing the placket evenly. Stitched and overcast the seam. Then I ironed the seams on the garment and stitched a finish line!
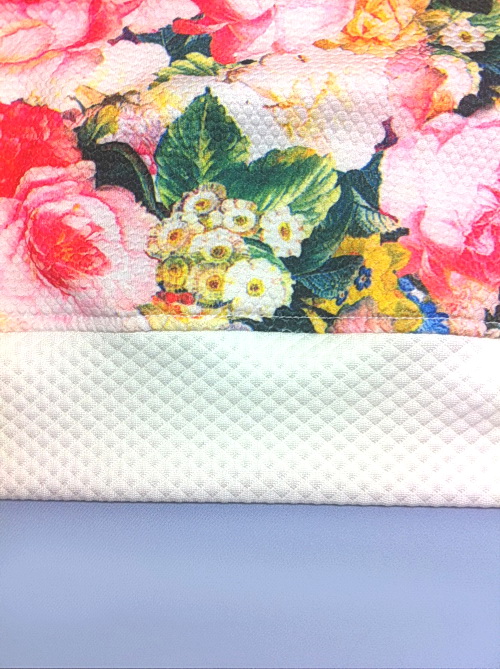
I did the same with sleeves cuffs - I sewed the ends of the cuffs together, ironed out the seams, folded it in half and ironed it. I basted to the bottom of the sleeves, easing the sleeves over the cuff, stitched them in, overcast and ironed. Finish line, done!
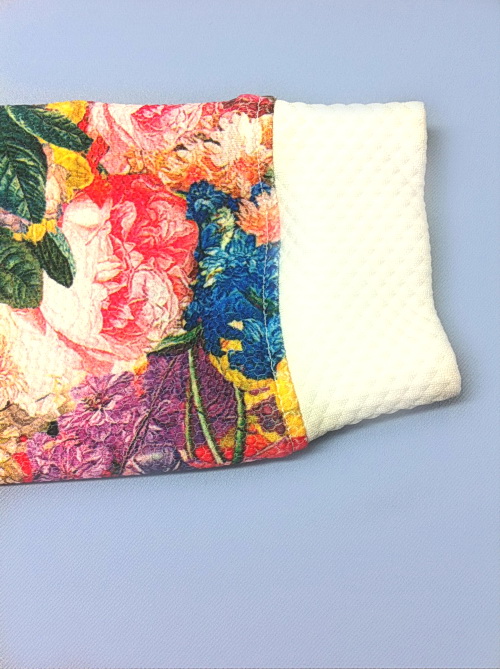
The final ironing, and you can enjoy the new garment!
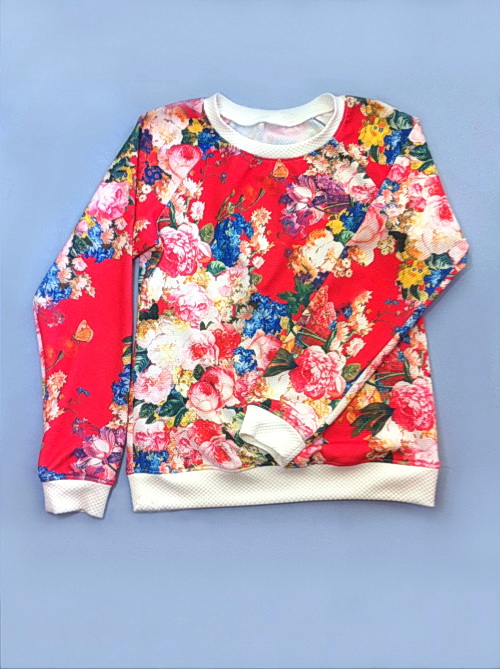
The sweatshirt is ready. The sewing was easy and enjoyable!
When sewing 42 size sweatshirt, I used:
- main fabric – 1 m knit fabric;
- trim fabric – 30cm knit fabric;
- 4 sewing spools;
I wish you all successful tailoring!!!

Reviews
All documents, multimedia and texts posted on en-grasser.com are works of authorship and are the property of Grasser Group Limited. All the information and products are provided to buyers for personal use. Resale of patterns and master classes is prohibited and prosecuted by law. Public offering of our products and links to their downloading - on the Internet, social networks and in the media - is a violation and carries a penalty in accordance to applicable law. When copying text information, an active link to en-grasser.com is required. Every copy from the site en-grasser.com is tracked.
CallbackContact usAuthorizationPlease register or login AuthorizationSubscribeAre you sure you want to remove an item from your shopping cart?