- PATTERNS
- VIDEO TUTORIALS
- BLOG
- FEEDBACK
- CONTACTS
- FAQ
- Main page
- Blog
- Sewing with GRASSER patterns
- Sewing pattern № 462 dress with Natalia Butenina
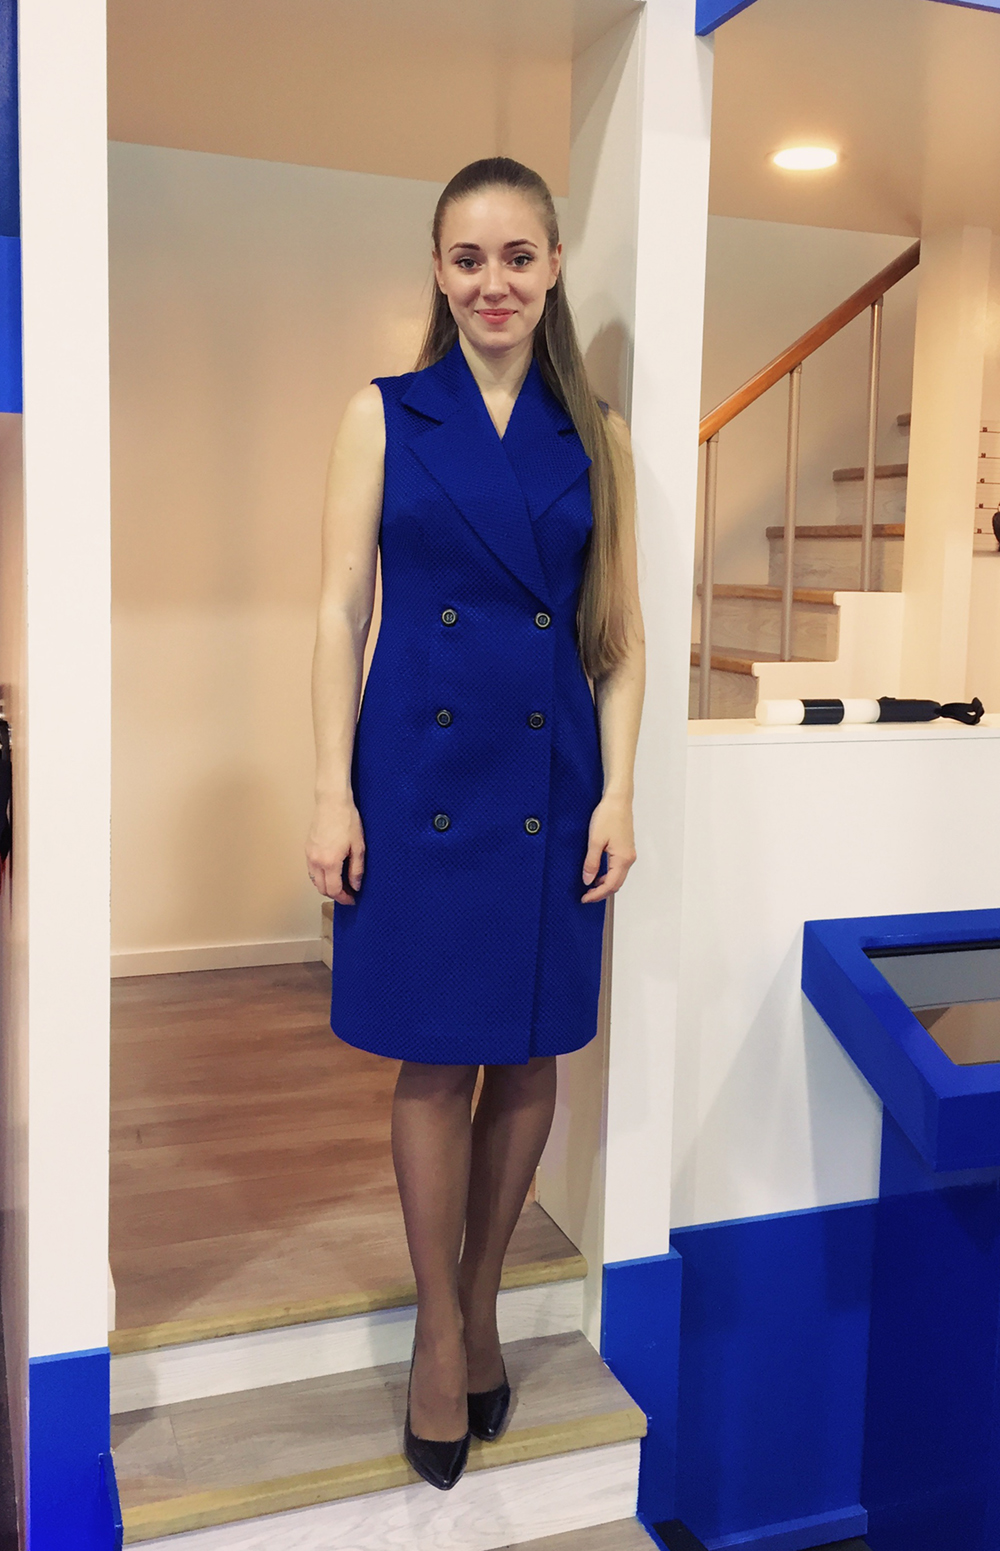
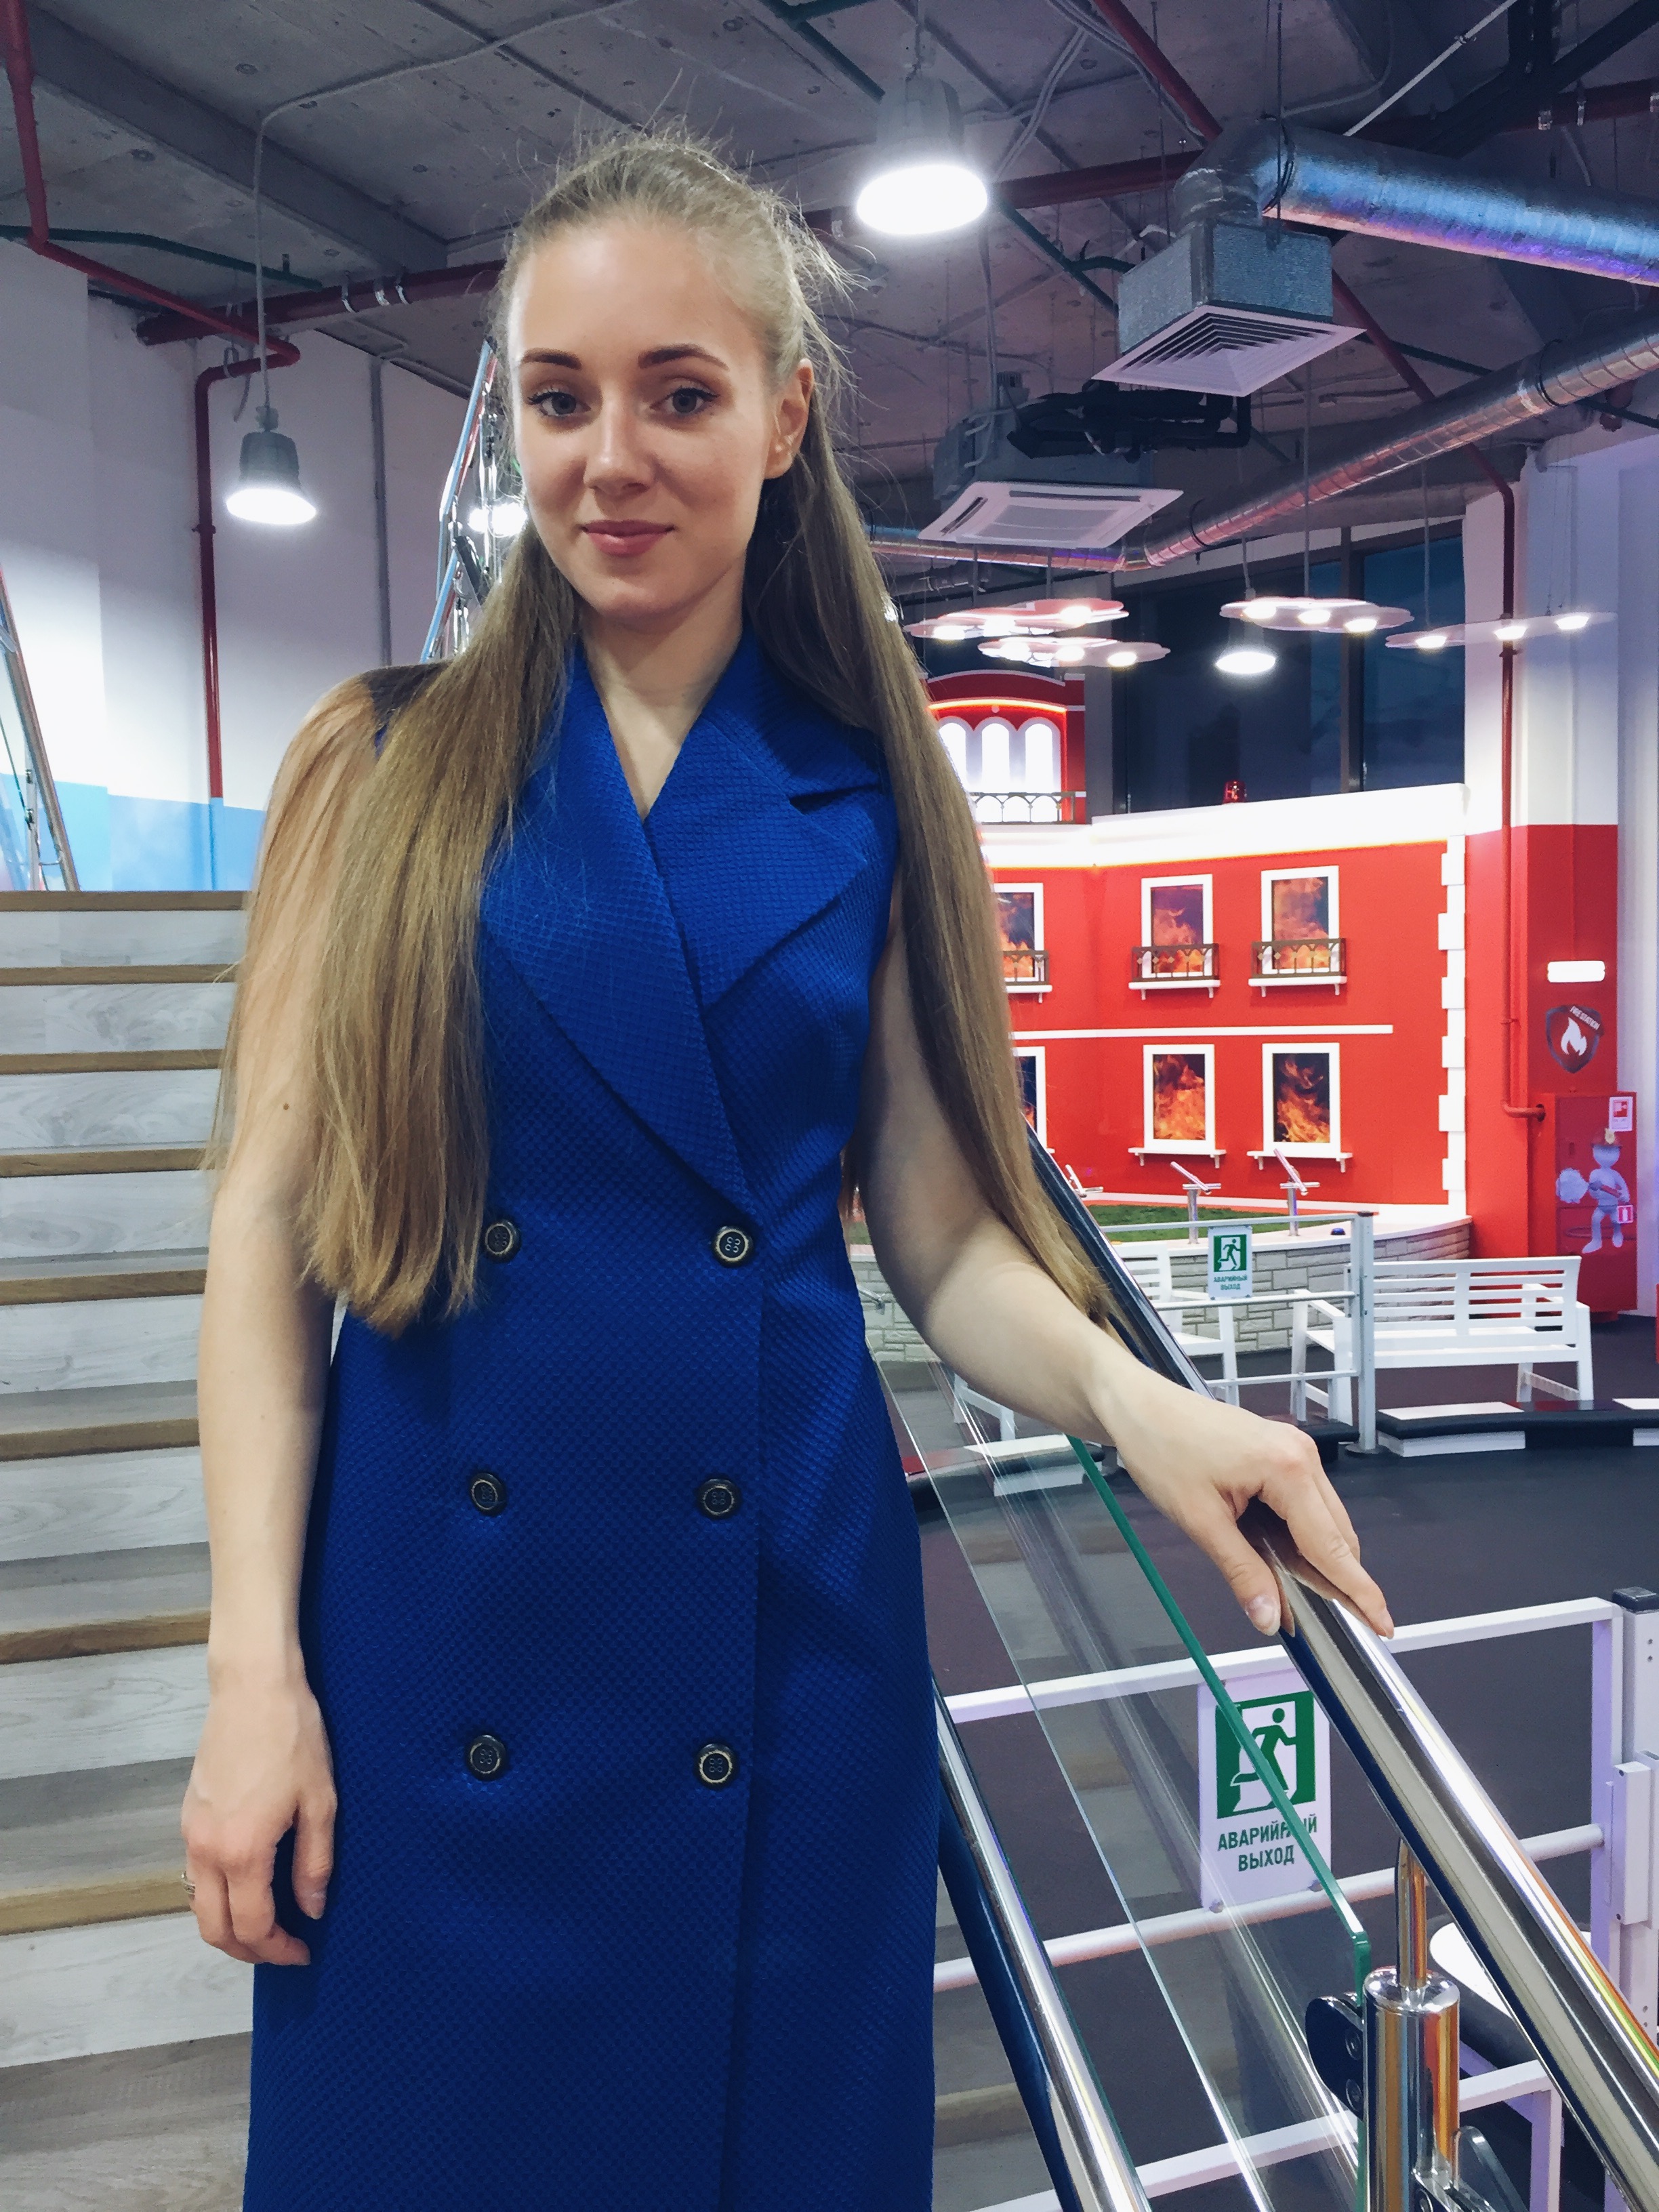
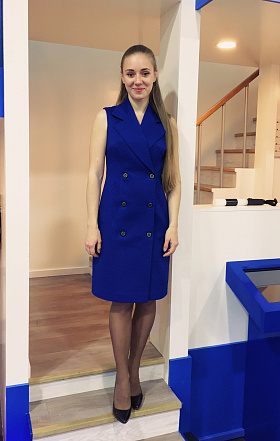
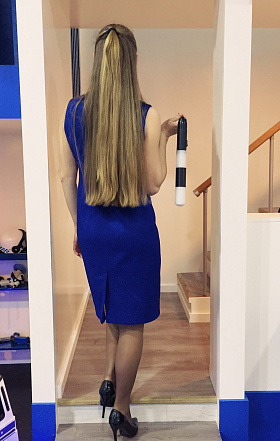
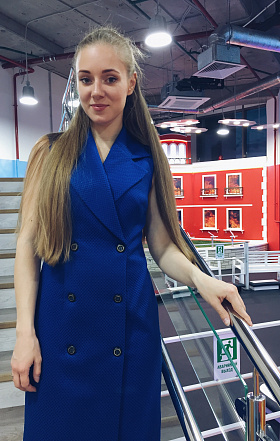
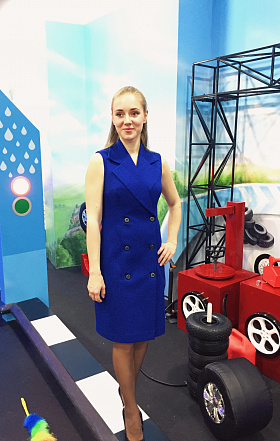
Sewing pattern № 462 dress with Natalia Butenina
I have had the idea to sew a stylish vest dress for a long time. Thanks a lot to the Grasser team for making my wish come true.
I chose a dense textured fabric without stretching for pattern # 462 dress. We also need woven or non-woven interfacing, buttons and threads.
Let's start sewing
I taped together the sheets of the pattern and immediately, before cutting out, reduced dress length by 20 cm. You can also immediately decide on the length in order to reduce the fabric consumption.
1) Cut out. We pin the pattern pieces onto the fabric (Fig.1). Mark with chalk, cut out and trace control lines and signs. I use tracing paper and a wheel for this, in my opinion it is quick and convenient. But! I do not use it on light and transparent fabrics (Fig. 2, 3).


2) Next, I fused the interfacing to the matching fabric pieces and shaped them. I fused interfacing to the vent in addition to the pieces that are indicated in the instructions. More on this below. The upper collar is not fused, as my fabric is dense enough (Fig. 4).

3) We sew the darts on the front and back pieces, press the horizontal darts towards the top and vertical ones towards the center (Fig. 5, 6).


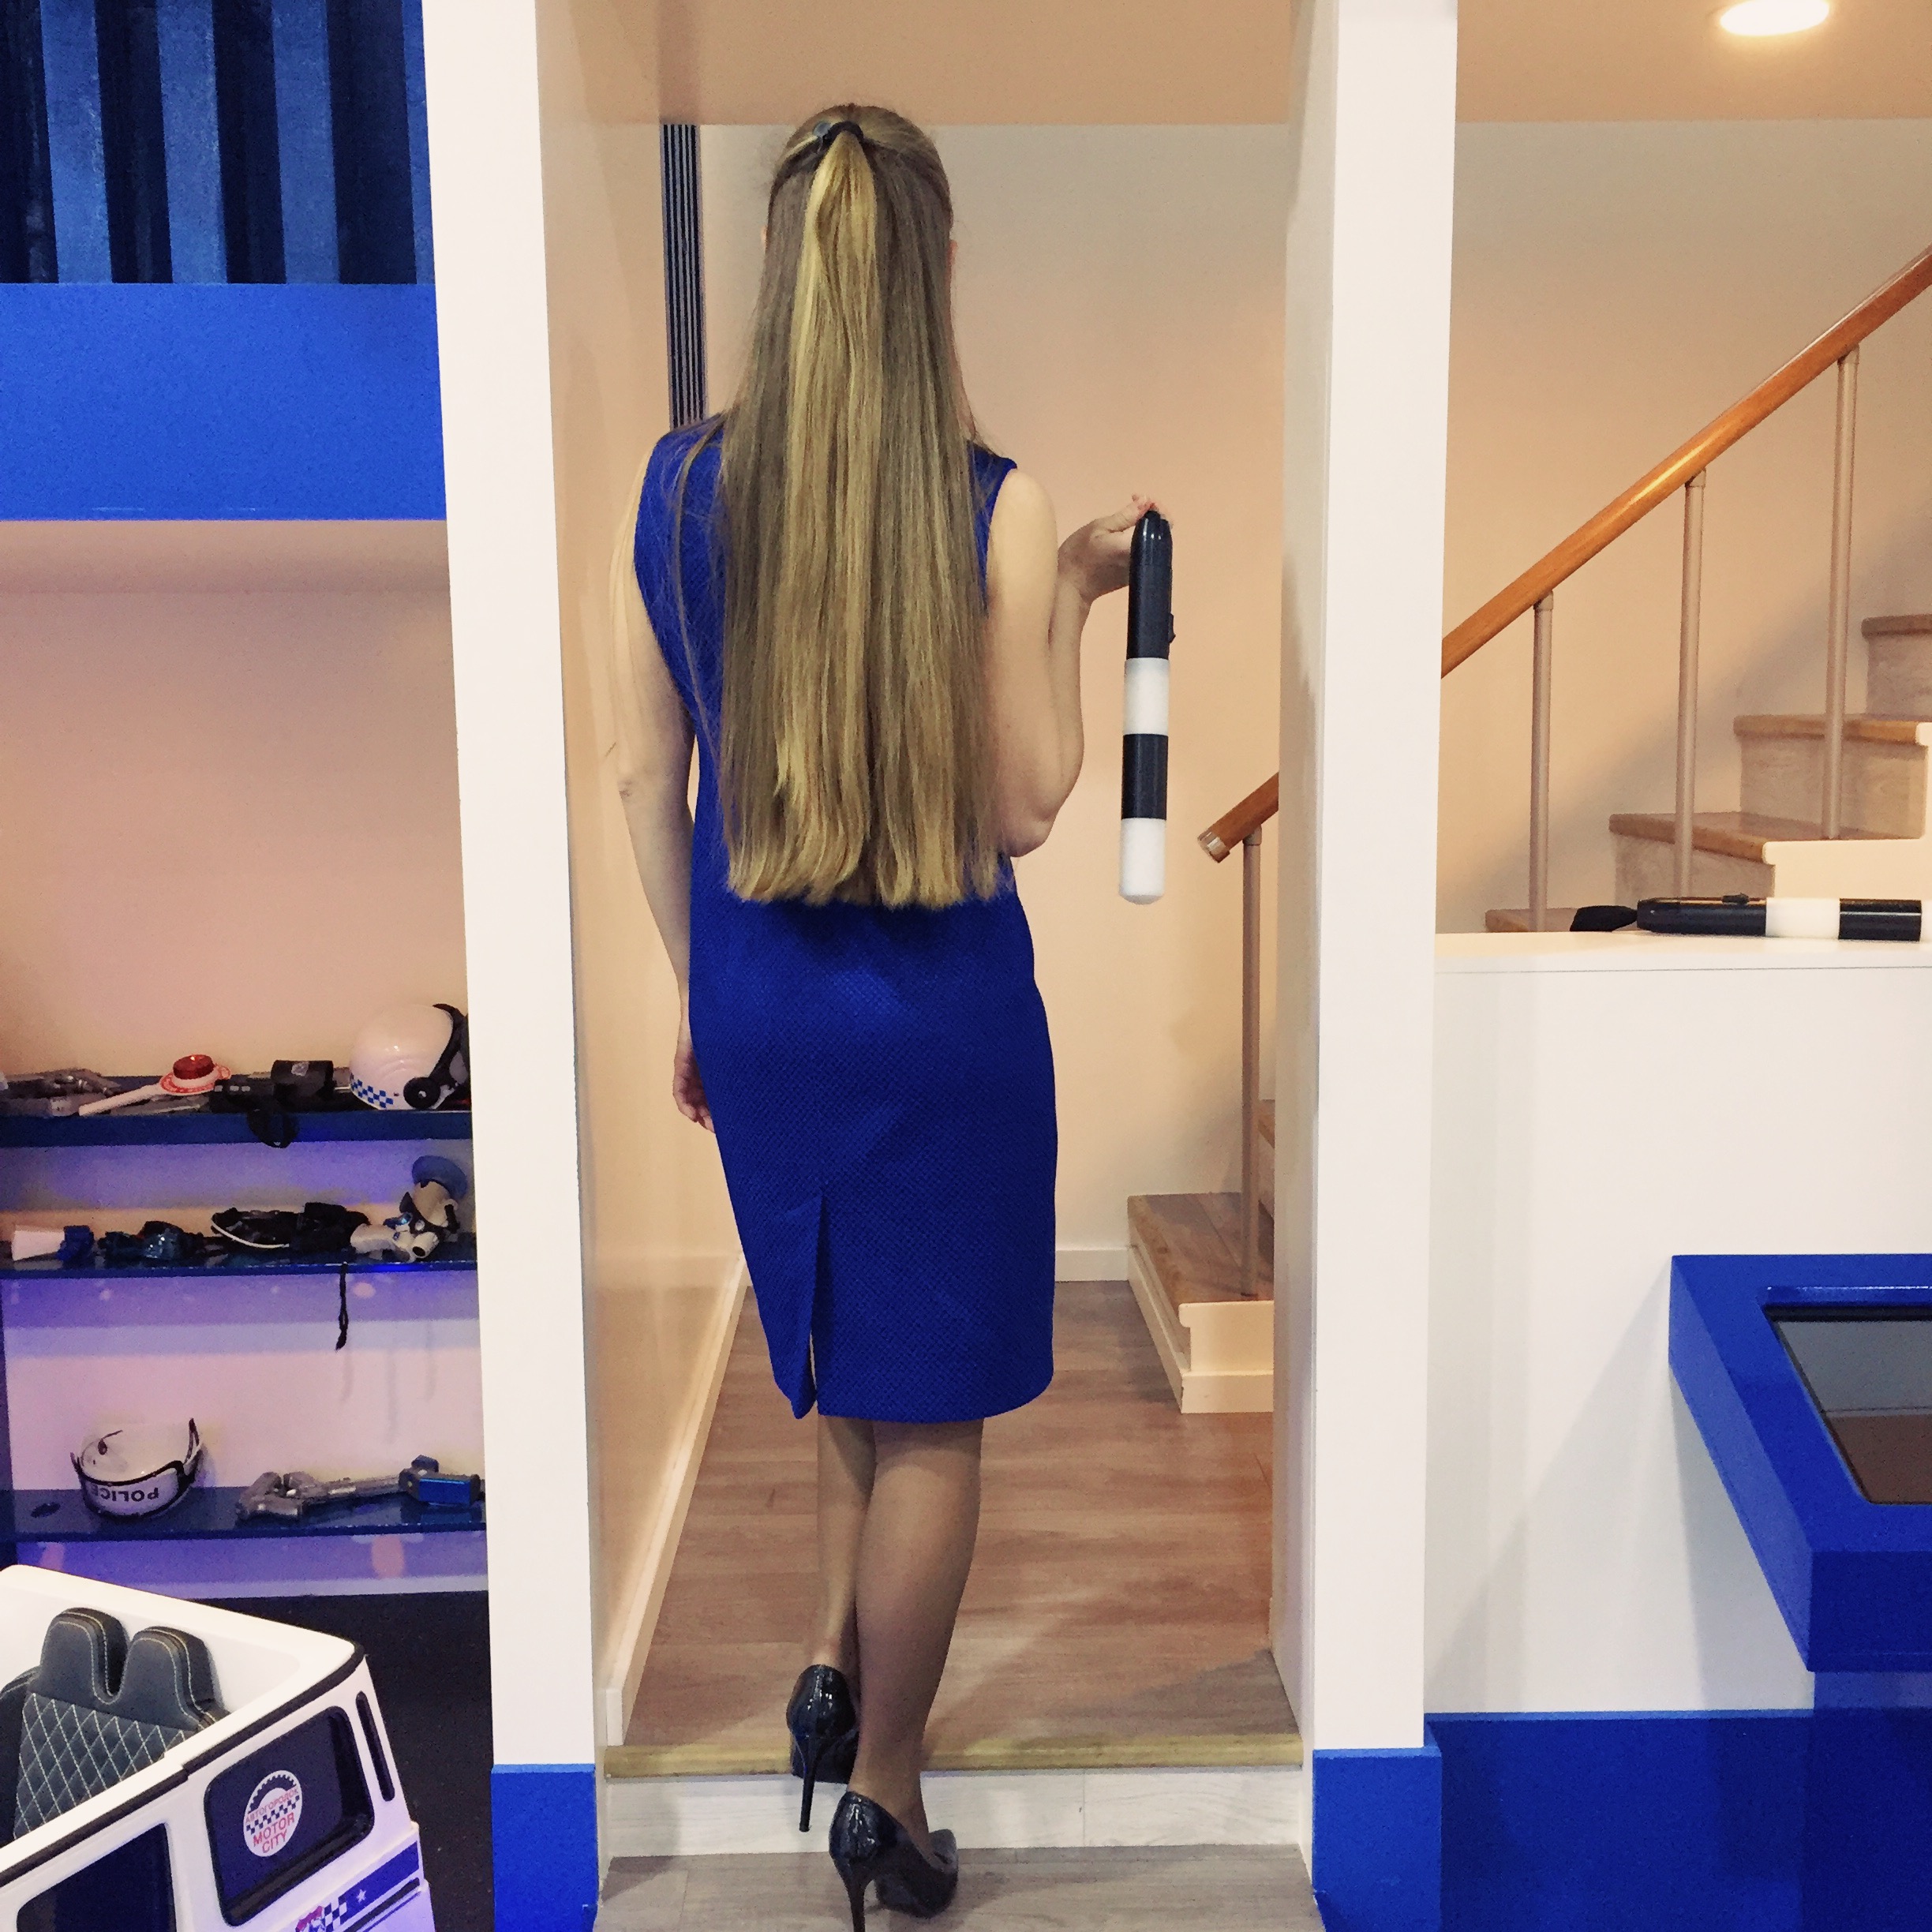
4) Vent.
First of all, it is necessary to fuse the interfacing to the entire area of the left panel vent, from the fold line to the edge, as well as the edge of the right panel vent (Fig. 7). This is to prevent the vent from stretching during wear. We overcast the edges of the vent on both panels (Fig. 8). Further, we fold and press the allowance on the right panel along the pattern outline and stitch the allowance by 0.7 or 0.1 cm (Fig. 9).


We overcast the middle edges of the dress back panels. To make it easier to overcast the corner over the vent, you need to turn it into a straight line and then overcast it (Fig. 10).

We hide the serger tails with a hook or with a needle. After that, we place one piece of the back on another face to face. We sew the pieces at the seam attachment points and sew together the pieces along the middle seam of the back and the upper edge of the vent. Now we need to hem the cut edge, this ensures that the vent is pressed exactly along the fold line (Fig. 11).

We press the vent by turning its allowance on the left panel. Press the allowances of the middle seam of the back open (Fig. 12). It remains only to stitch the vent allowances right through to the dress piece (Fig. 13).


5) We sew the shoulder seams together, stitch the back facing and hidden button stand along the shoulder seams. We overcast the hidden button stand and facing on the outside (Fig. 14).

We finish the armholes with facing. For this purpose, we place a hidden button stand that is attached to the back facing on the garment face to face and sew together along the line of the armhole with the main piece of garment (Fig. 15)
.

After that we turn the pieces right side out and stitch the facing to seam allowances by 0.1 cm. We baste and press the armhole (Fig. 16, 17).


6) We overcast the edges of the stands and lapels with the hidden button stand. We place the hidden button stand on the garment stand right sides together, sew it down to the mark on the lapel (Fig. 18), cut the allowances of hidden button stand and stand at this point (Fig. 19).


First, we press the seam allowances open, then press them towards the lapel and the hidden button stand at the bottom (Fig. 20).

In other words, we press it towards the piece that won’t be visible after we turn the right side out. We turn the right side out, baste it, making piping, press it (Fig. 21).

7) Now we move to the most interesting part – hemming and stitching the collar into the garment. If you are dealing with an English collar for the first time like me, then you just need to watch Grasser master class on tailoring a jacket. The collar is considered in detail in the master class. Therefore, I highly recommend it. :) In my attempt, I try to describe how I did it in detail.
8) We attach the collar stands to the bottom and top collars (Fig. 22). We make notches along the edges of the bottom and top collar allowances and press the allowances open. Next, we top stitch the allowances by 0.1 cm on the stand and on the collar (Fig. 23).


We fold the top and bottom collars face to face, sew them together (Fig. 24), trim the allowances, turn them inside out and baste them, making piping so that the bottom collar was not visible from the side of the top collar (Fig. 25).


Turn our upcoming dress inside out. Now we need to pin the collar to the garment. We fold the top collar with the hidden button stand right sides together, do the same with the bottom collar and the garment and pin it first along the seam attachment points, then around the circle (Fig. 26).

We baste, stitch and press the allowances (Fig. 27, 28).


As a result, you should get sharp corners and the collar seam should match with the seam we got from overcasting the lapel with the hidden button stand (Fig. 29, 30).


Further you need to hand sew the seam that joins the bottom collar and the garment with the seam that joins the top collar and hidden button stand. First, we pin the right side collar seams from one corner to the other (Fig. 31), then we fold the garment away and from the inside we back stitch the allowance by hand without removing the pins (Fig. 32).


We baste the collar corners and press the place where the collar is stitched in (Fig. 33).
Hope you got it on the first time. :)

9) We stitch the side seams of the garment at the same time as the seams of the hidden button stand, overcast and press them open.
10) We overcast the garment hem. We press the allowance along the bottom and sew it with a blind stitch (Fig. 34, 35).


We hold the left part of the vent with a neck of thread (Fig. 36). Similarly, we hold the facing to the side seams.

11) Sew on the buttons, add buttonholes and press the garment.
That's it, your dress is ready. Enjoy the finished product.
I did not make any adjustments to the pattern except the fact that I made the dress slightly narrow in the hips along the side seams. In the process of sewing, I realized that it was worth taking a thinner fabric, mine would rather be good for a vest. Perhaps someone will wear this dress as a vest, but in this case, you most likely need to deepen the armhole a little. In general, the dress turned out to be quite versatile, I can wear it in summer and winter on a turtleneck. I think this dress can take its rightful place in every wardrobe.


Reviews
All documents, multimedia and texts posted on en-grasser.com are works of authorship and are the property of Grasser Group Limited. All the information and products are provided to buyers for personal use. Resale of patterns and master classes is prohibited and prosecuted by law. Public offering of our products and links to their downloading - on the Internet, social networks and in the media - is a violation and carries a penalty in accordance to applicable law. When copying text information, an active link to en-grasser.com is required. Every copy from the site en-grasser.com is tracked.
CallbackContact usAuthorizationPlease register or login AuthorizationSubscribeAre you sure you want to remove an item from your shopping cart?