How to sew a continuous sleeve binding and finish hem edge of a sleeve with a cuff
We’ve already explained how to sew a sleeve placket. Today we want to show you all the secrets of how to assemble a continuous sleeve binding. Sleeve binding always looks so feminine and tender! But anyway you choose which one is the easiest for you – placket or continuous binding. At the end we’ll show how to hem a sleeve with a cuff, so read carefully till the end.
1. Cut out a binding from fabric. We cut out 2, 5 cm width detail. Cut a sleeve along the cut line.
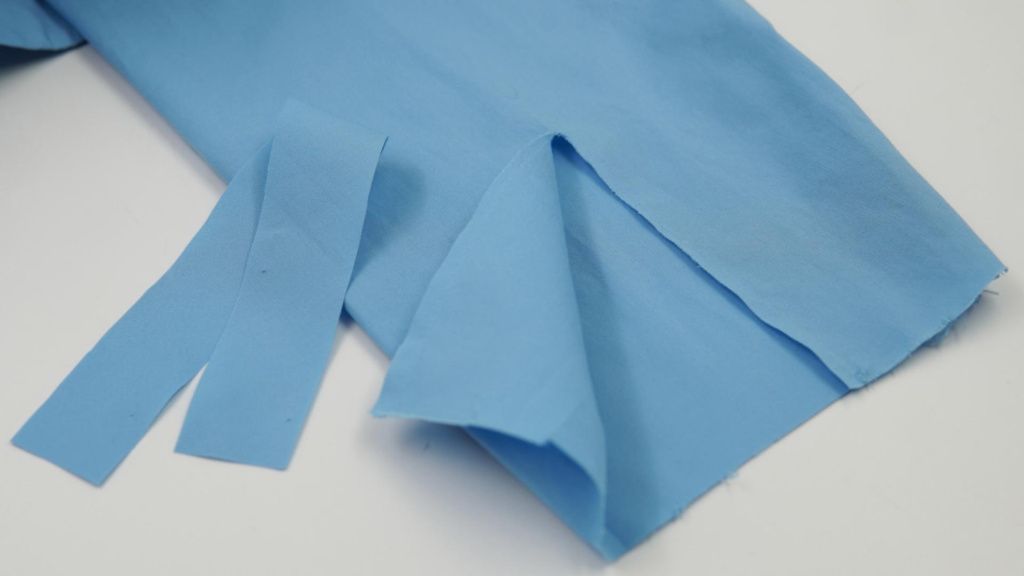
2. Draw an additional line at 1 cm from the binding’s edge.
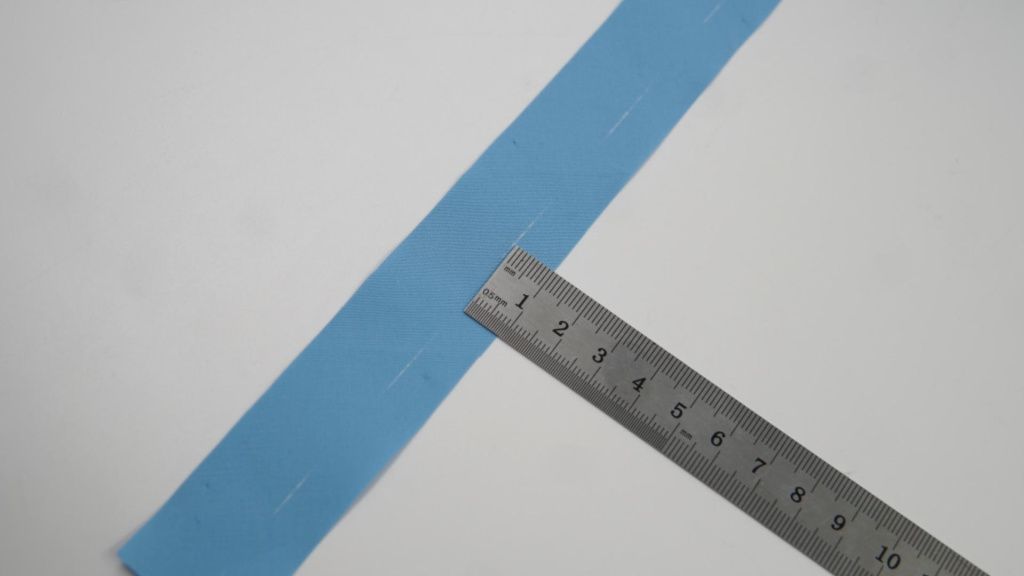
3. Fold the edge to the marked line and press.
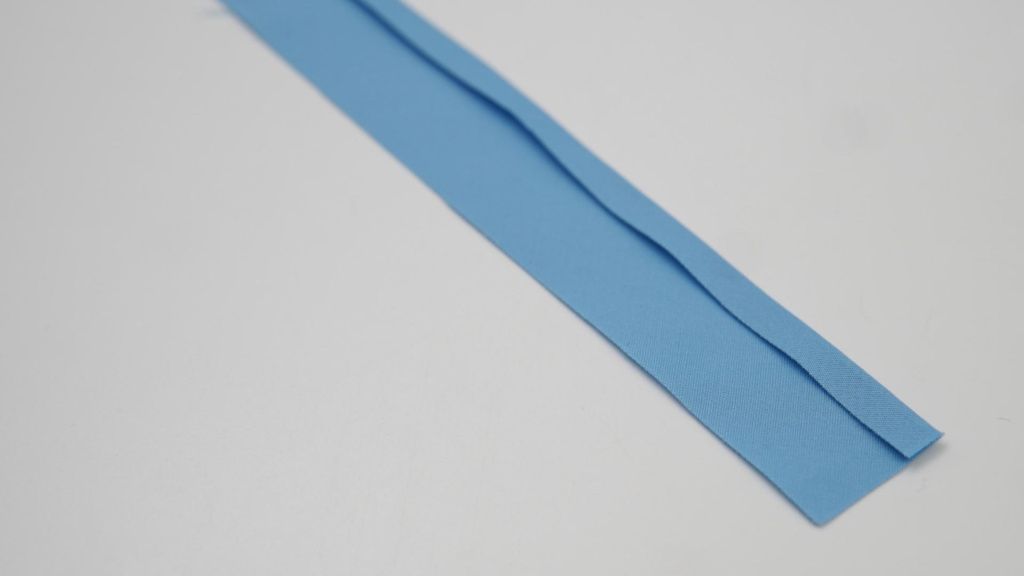
4. Add the binding’s edge and the sleeve’s slit together, matching their right sides. Fold apart sides of the slit to create a single line.
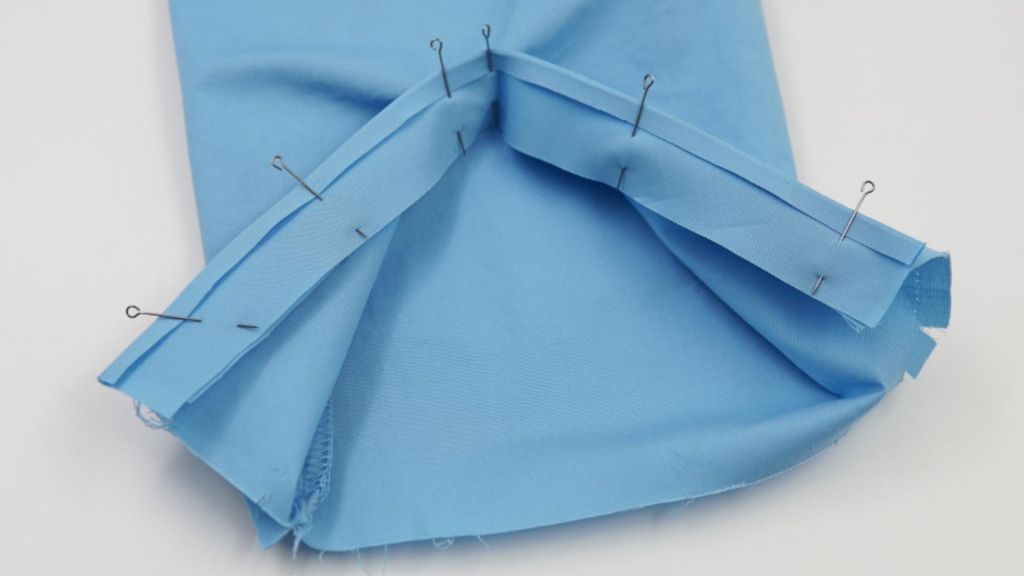
5. First match the slit to the binding’s edge at the beginning, at the center seam will be sewn 2 mm away from the edge. Sew on the binding to the sleeve’s slit with 0, 5 cm seam width. Check the quality of your works, there must be no pleats at the slit’s center.
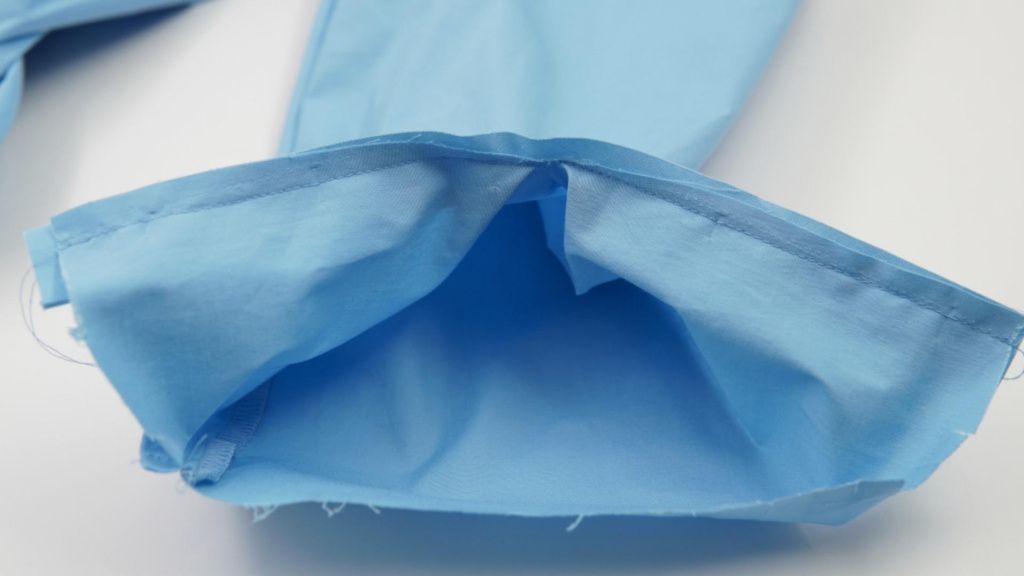
6. Bend the slit with the binding. Tack on or pin the allowance the way to make it overlap the seam for 0, 1-0, 2 cm.
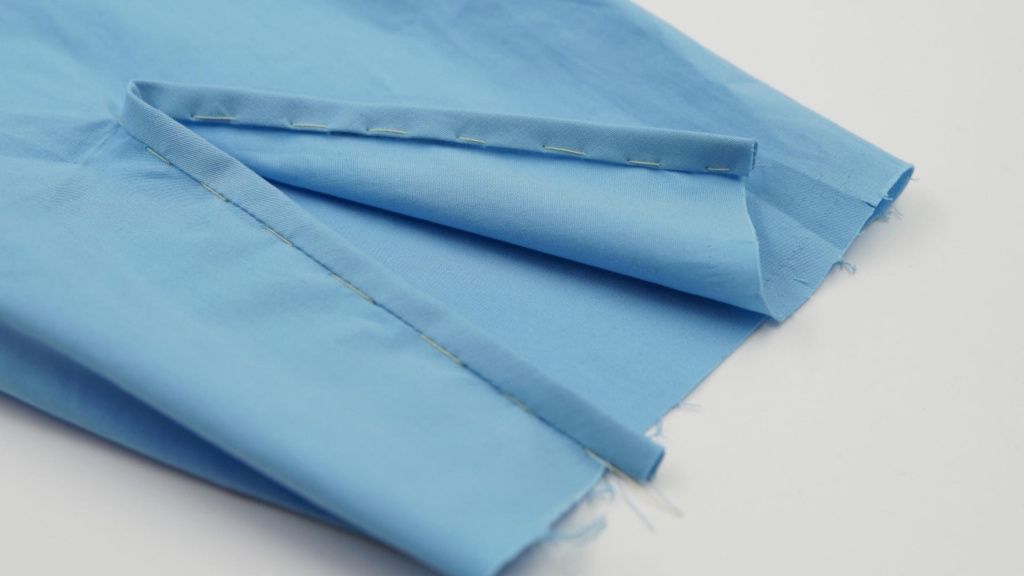
7. Topstitch the binding’s edge on the sleeve’s side. On the wrong side seam must be sewn into the binding’s seam.
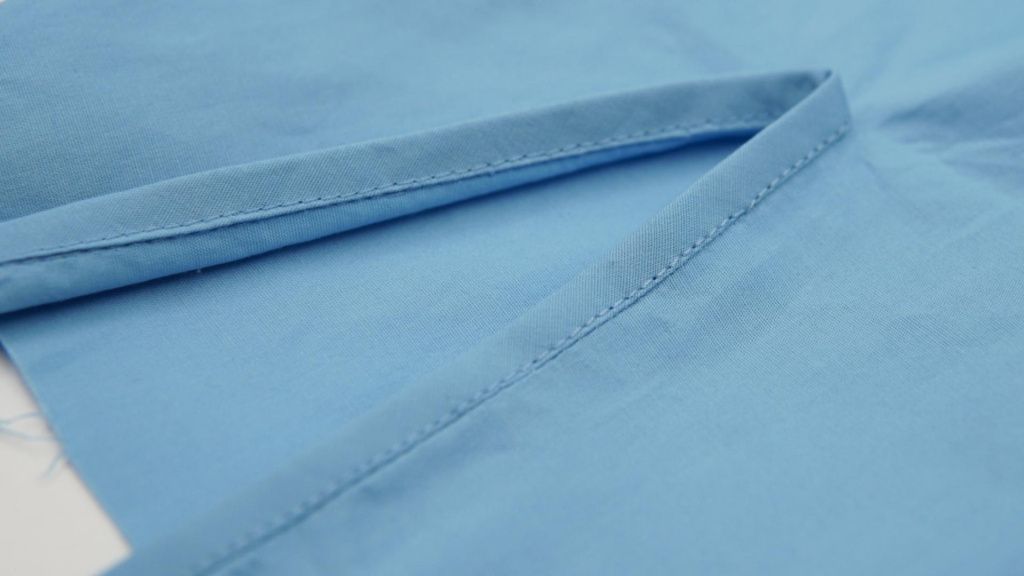
Check the quality of the seam. Don’t forget about the wet-heat pressing.
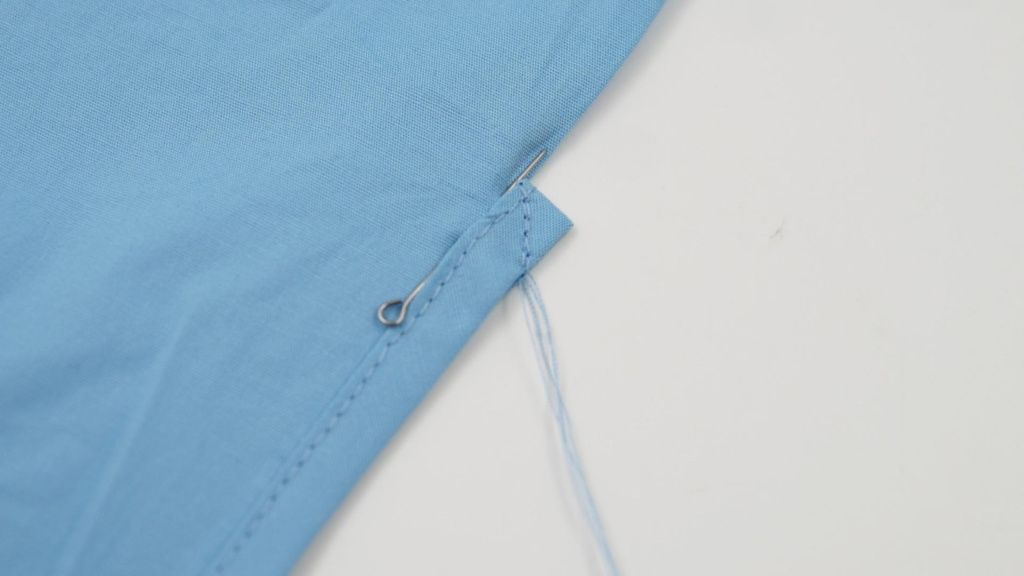
8. Add sides of the slit together, matching right sides. Align sides of the slit. Install a pin in the slit’s point (also you can use hand stitches) to fix the slit’s sides.On the wrong side stitch the corner diagonally towards the slit’s point.
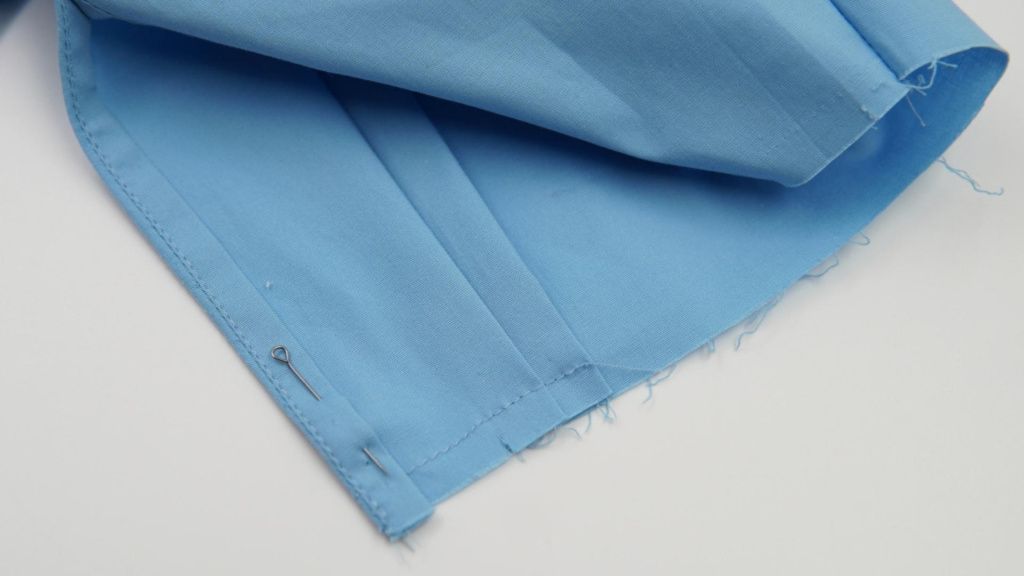
9. Make pleats at the back part of sleeve (to make it easier fold the front part to the wrong side), stitch the pleats or pin them.Assemble sleeves one by one very carefully, always check if pleats and bindings are symmetrical.
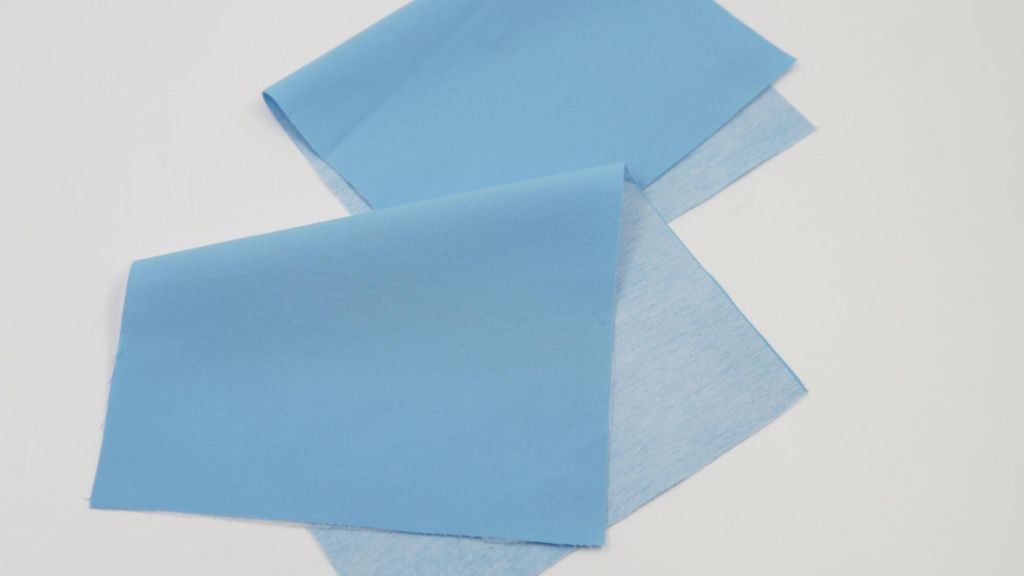
10. Cut out cuffs and fuse them.
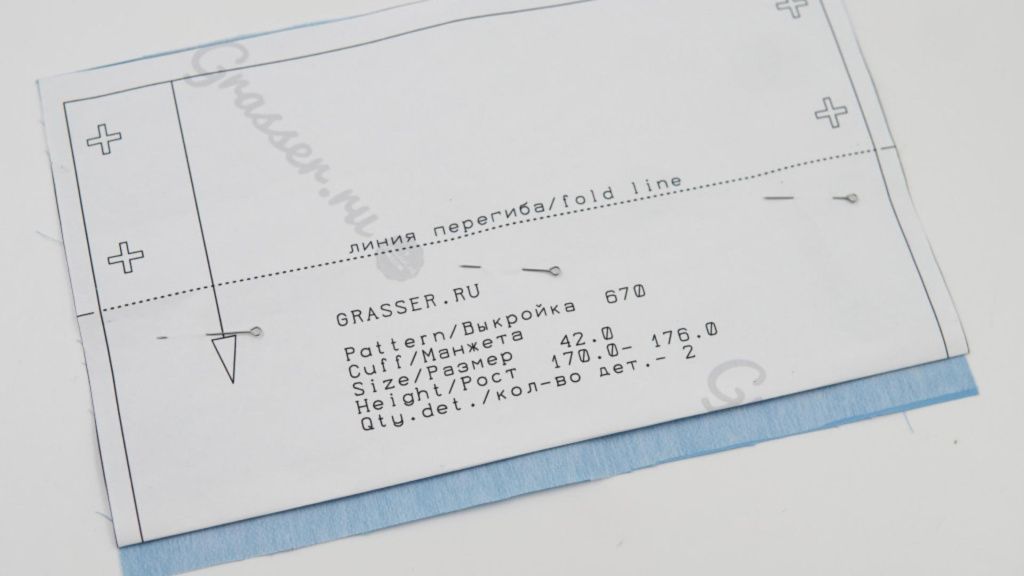
11. To fold allowances to the wrong side use the cuff pattern. Fold allowances of the pattern for 1 cm and press.
12. Now place the pattern with no allowances on the cuff detail and fold its allowances, bending the pattern with them. Press.
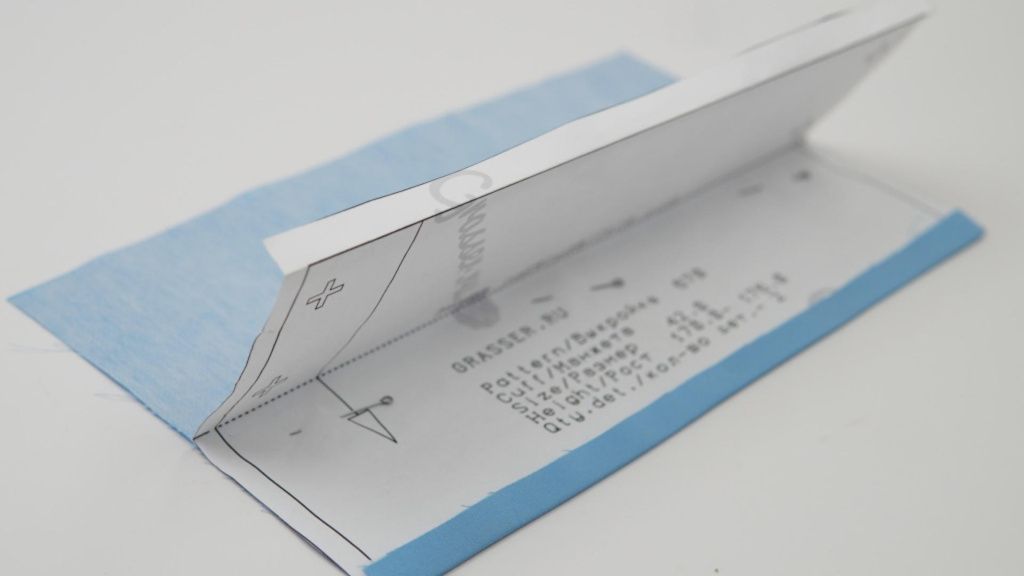
13. Remove the pattern. Such method helps to create rolls, they will make assemblage process easier.
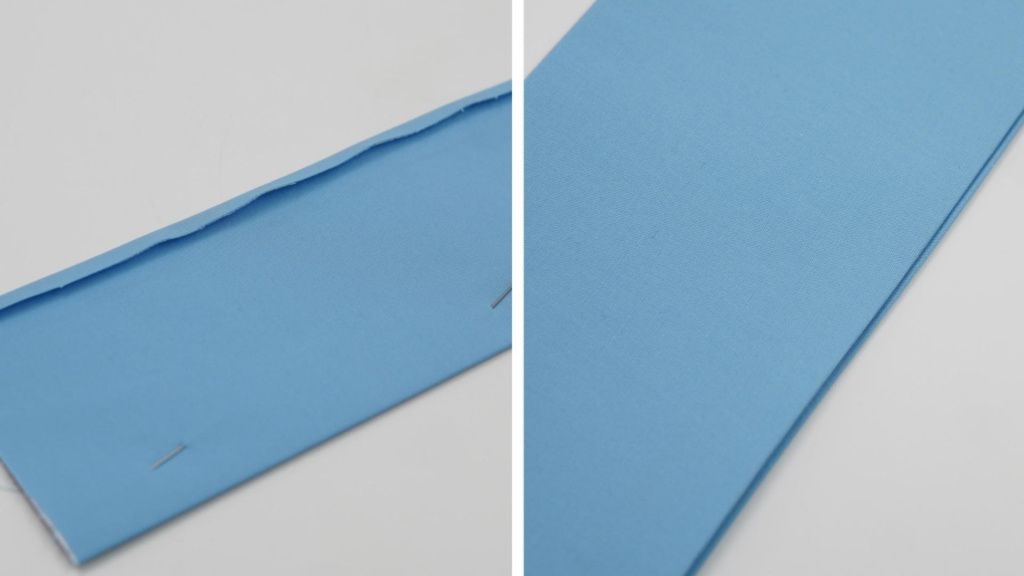
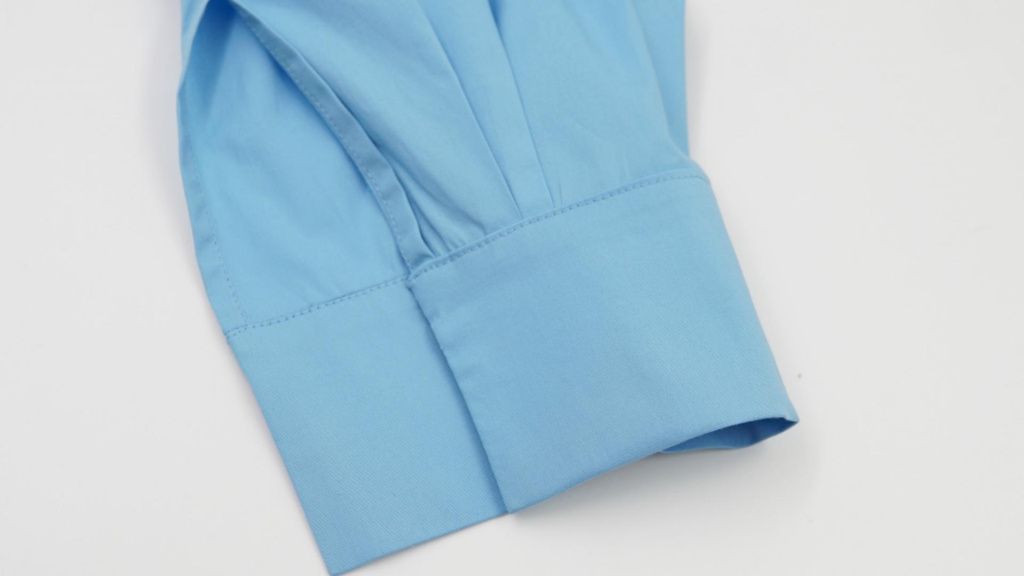
14. Add the cuff and the sleeve together, matching their right sides. Sew on the cuff, stitch along the fold. Fold allowances to the cuff and press.
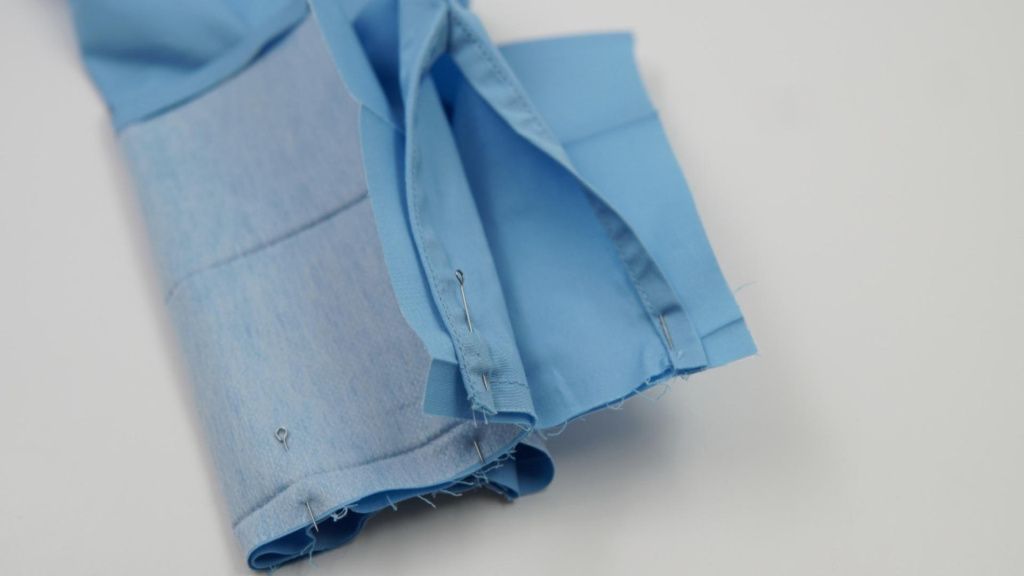
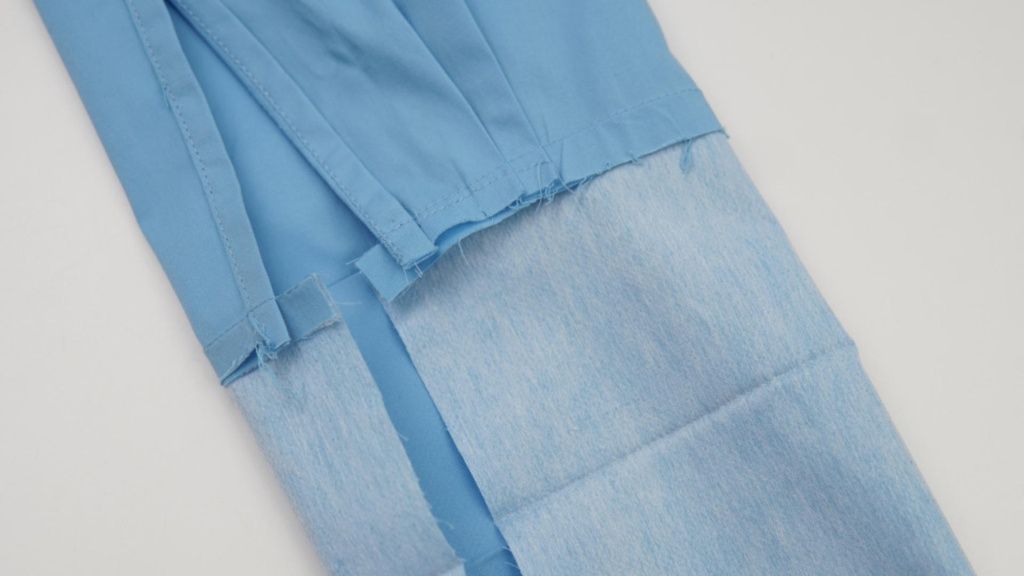
15. Fold the cuff, matching its right sides. Align short edges and overcast them. Cut allowances if needed. Inner cuff’s allowance remains raw.
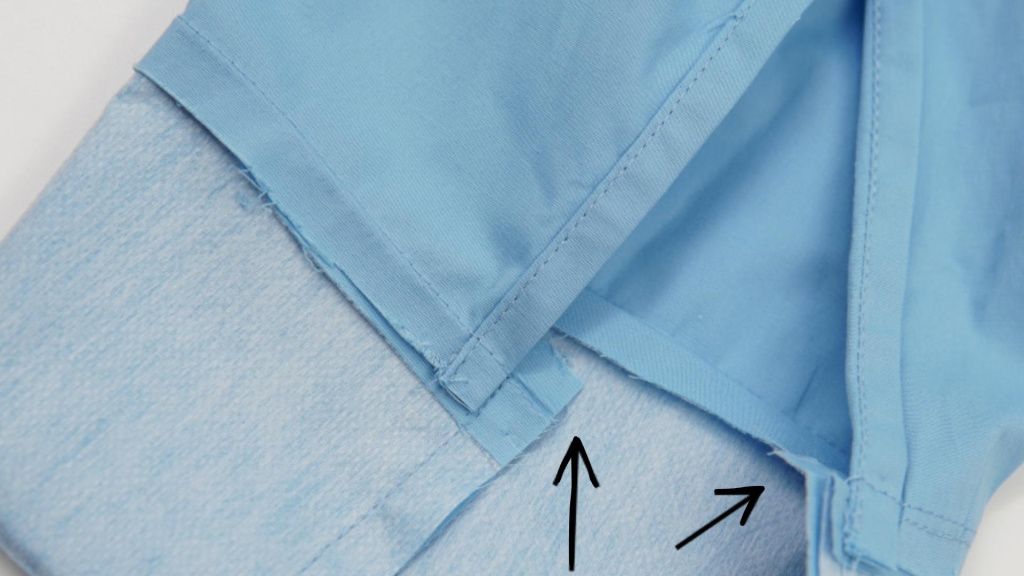
16. Cover the seam + allowances with the raw allowance of the cuff’s inner part.
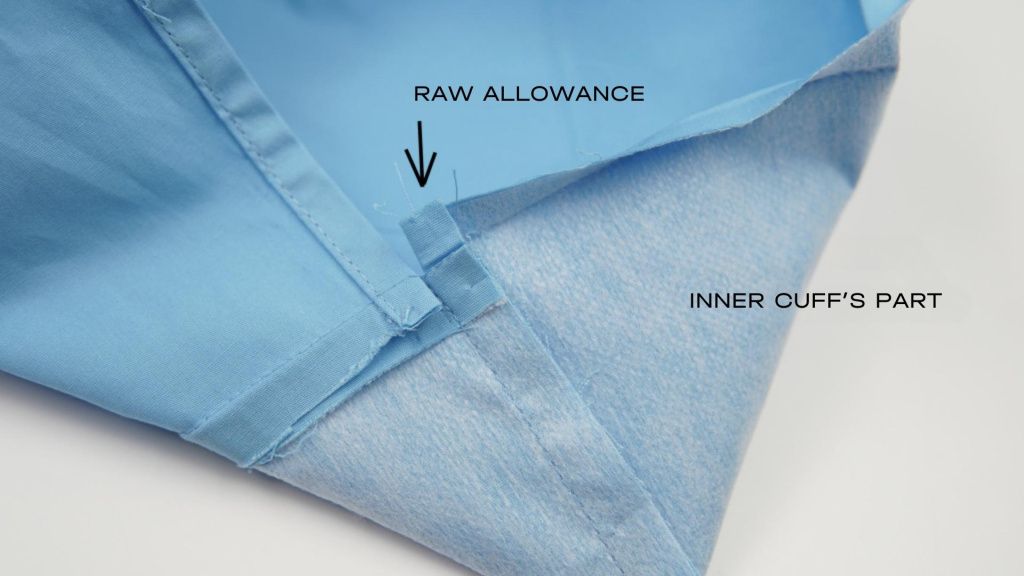
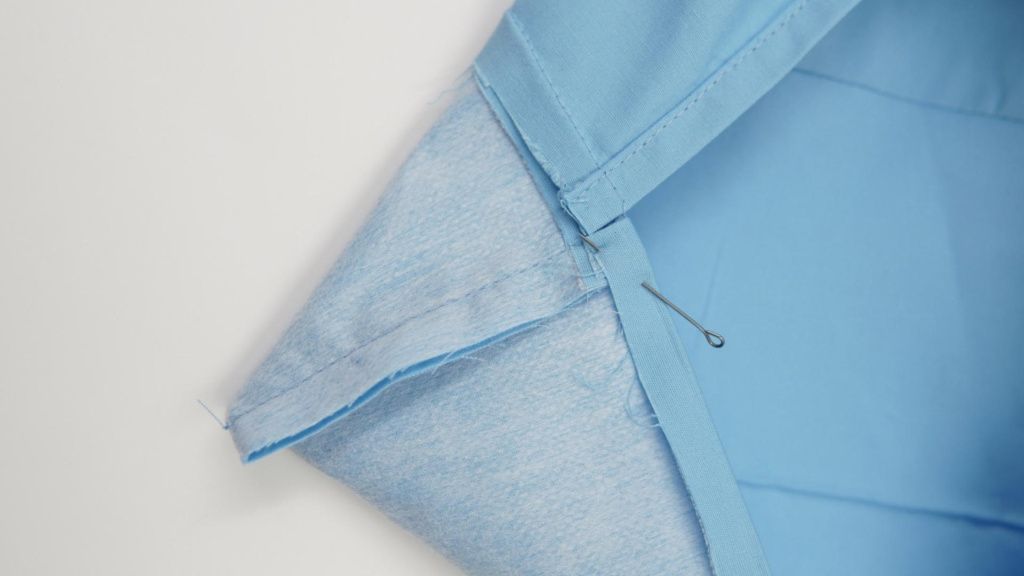
17. Turn the cuff right side out, evenly adjust the corners.
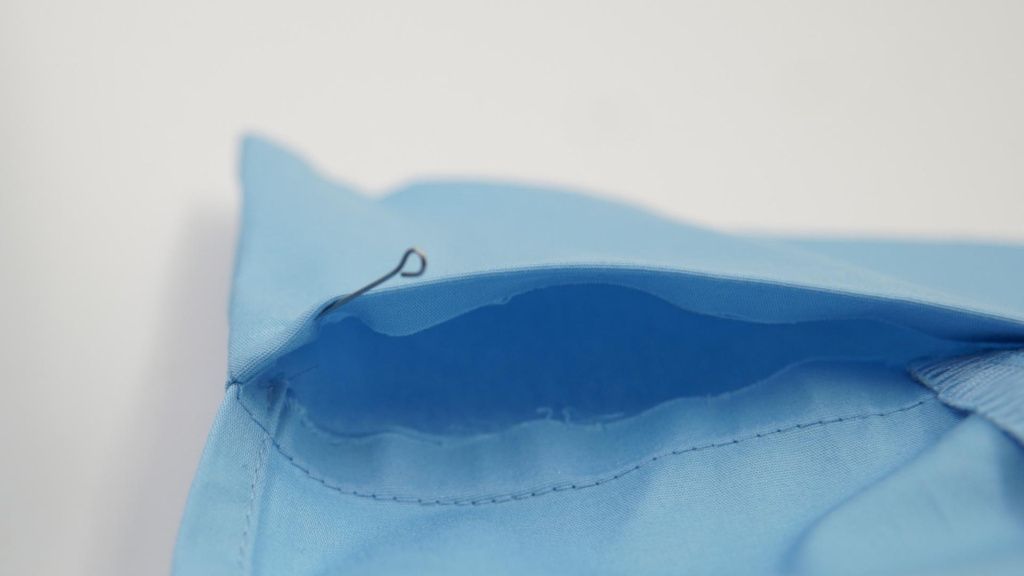
18. Overlap the seam with the inner cuff’s edge for 1 mm, baste.
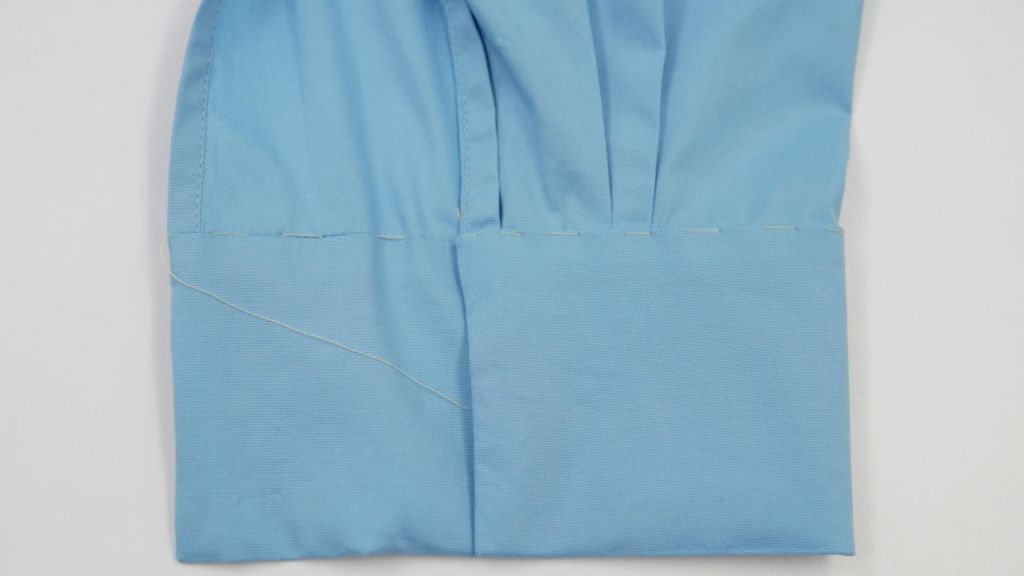
19. Topstitch the cuff, fixing all fabric layers. Topstitch either at 1 mm from the cuff’s edge or into the seam of the cuff. Do the final wet-heat pressing.
