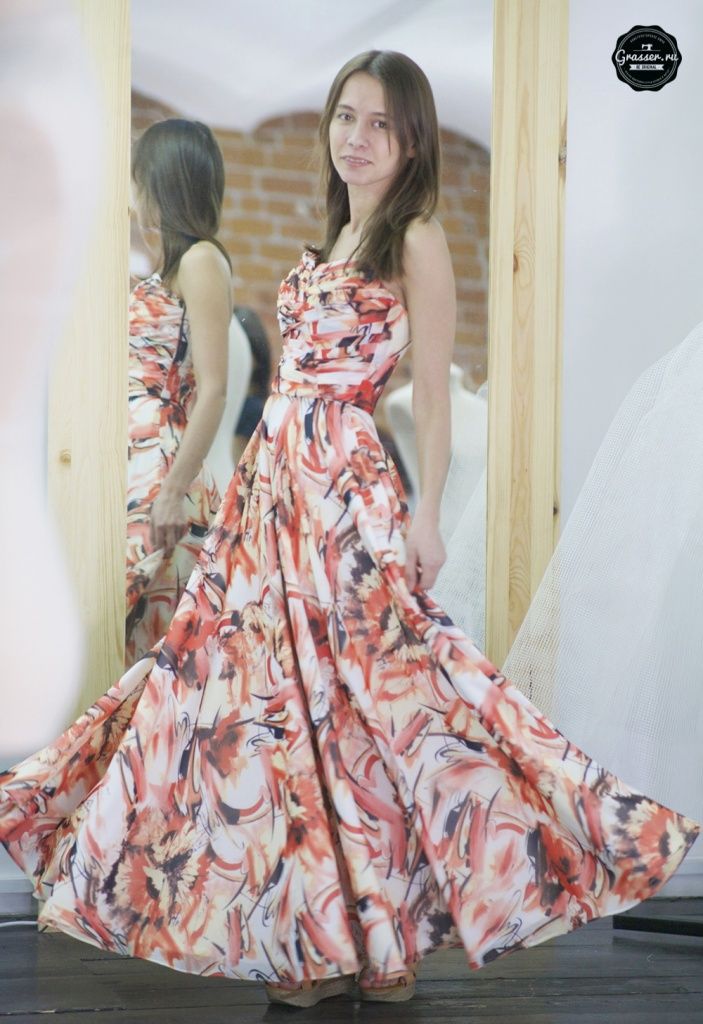
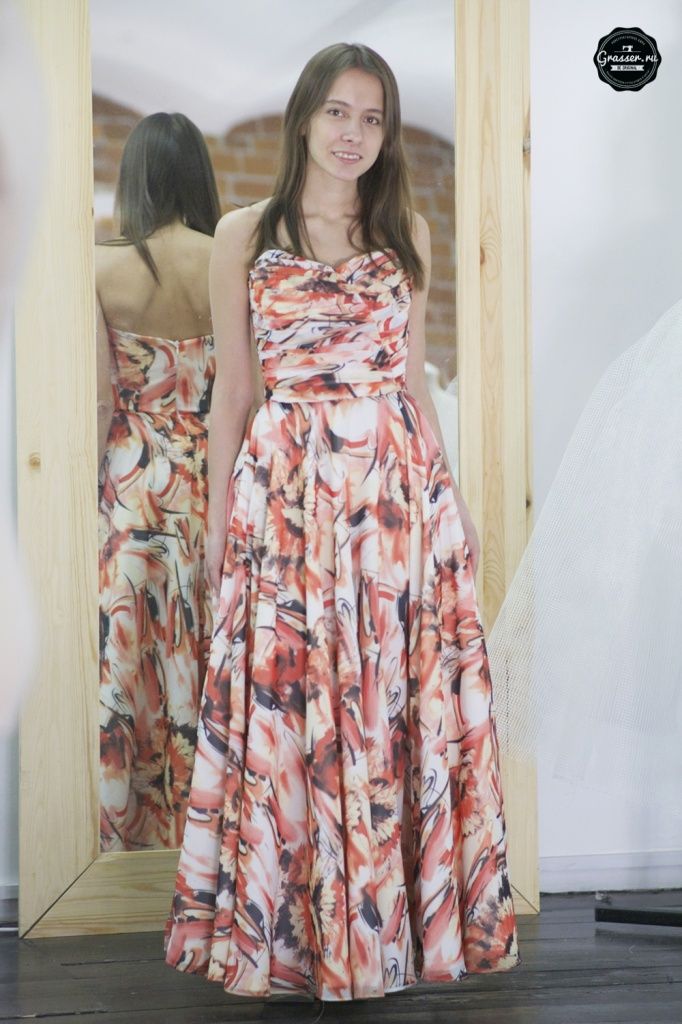
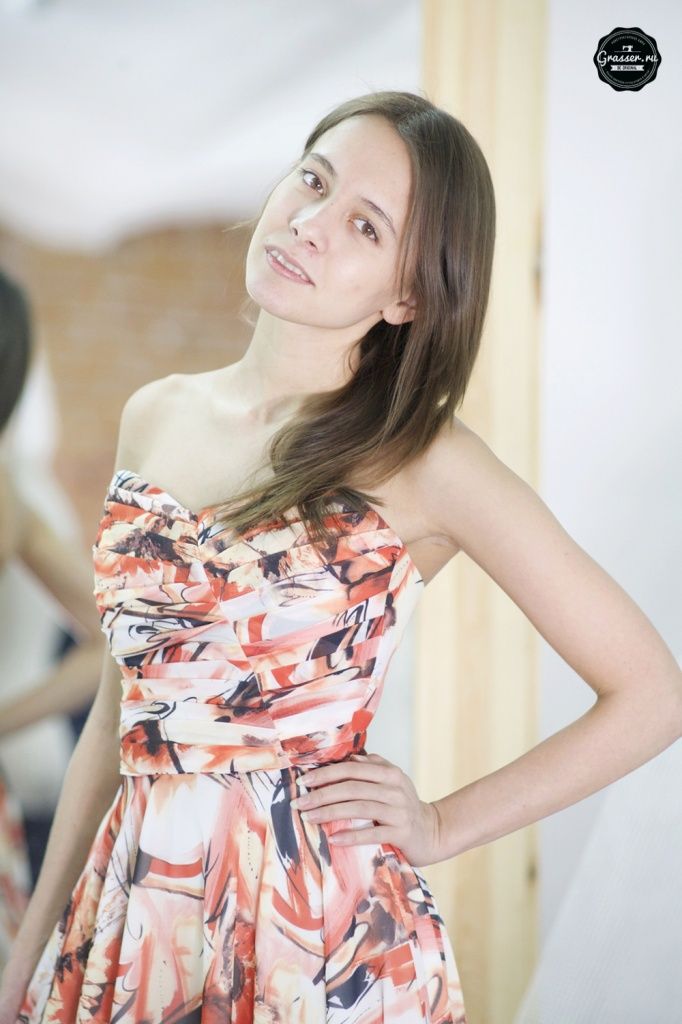
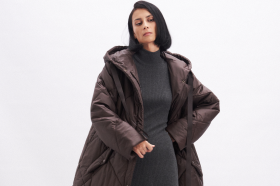
The dress of Moscow school Grasser student Anna Trofimova. The creation process.
Hello. Today I will tell you about the process of creating a dress that I made during fashion design and sewing for beginners. I understood that it would be difficult even at the stage of choosing a dress style, but the teacher Zulfiya Ivanova said: "There is not much to sew. It's very simple, even sleeves won’t be a problem".
In fact, there was a lot to sew. To begin with we drew a plan of the basic dress design of how the product will look. The dress is cut-off at the waist, the top is a corset, and the bottom is the usual poodle skirt (it isn’t indicated on the picture), there is a zipper with the length of about 40 cm on the center of the back. In order to construct a corset, it is necessary to reduce a base design by the size of the increases selected during its construction, to measure desired height from the waistline in the middle of the front and through to the center of the chest. Then you should draw the relief lines through the waist darts and cut the front and back parts along them.

This is how the templates and the layout of the future dress look like. I highly recommend that everyone first sew from a mock-up or just unnecessary fabric. I had to reduce both the forepart and the back.

This is how the ready-made templates look, I will cut them out of the main fabric.

The seam allowance is 2 cm, as regiline must be inserted into almost every seam (although regiline was called a whalebone in the shop). After sewing the parts, the seams must be pressed, and the seam allowance must be stitched by 0.1 cm to fix the allowances on the desired side. From this seam, it is necessary to make another one at a distance of 1.2 cm (depending on how wide the whalebone is).

This is the part that will be used as a lining. It is necessary to sew one more part like this one, only without sewed in a whalebone. The second part will be used for stitching the chiffon. I ironed the seams on the second part to make the same thickness everywhere.
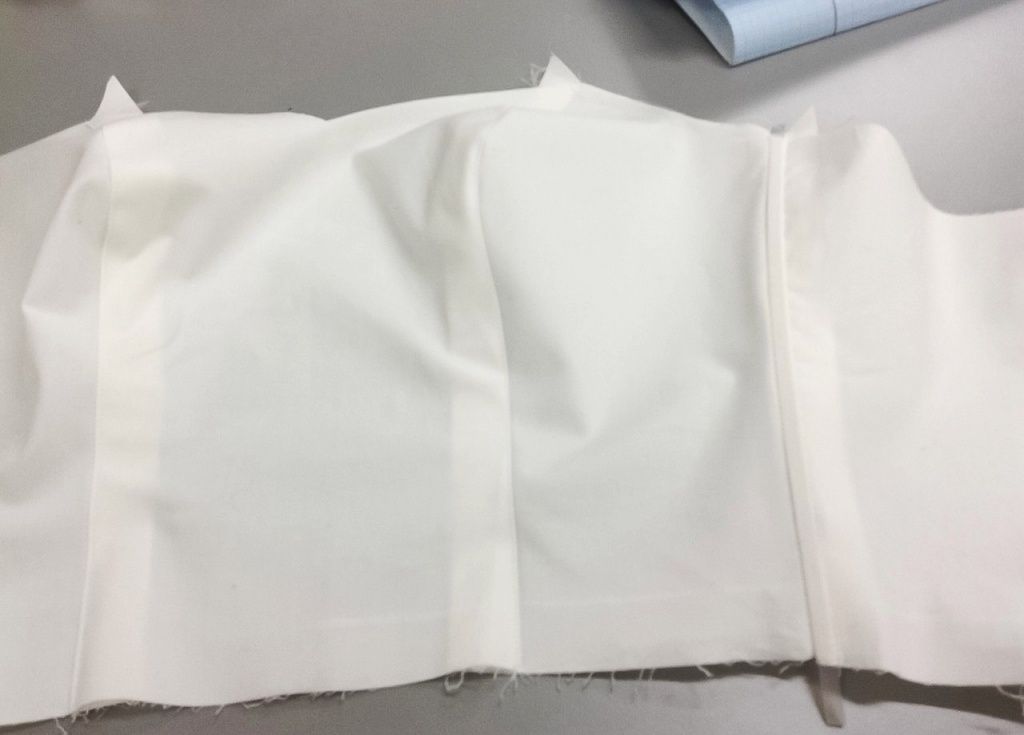

And then there's the most interesting part. We lay out the pleats. I did it on a mannequin, just pinning it with pins. When I was satisfied with the result, I sewed it a little further than the side seam towards the back to fix the pleats. Since I had more than enough fabrics, I made pleats right away. For those who will buy end to end fabrics, I recommend to cut out the skirt in the first place, and then lay out the pleats from the remains.


It’s not a quick process – you need to find time and patience! When the front part is ready, it is necessary to connect it with the lining part. Fold the front sides inward and connect them along the upper cut.

You can see the stitches that were made to fix the chiffon on this photo. Well, here's the finished corset.

The whalebone must be cut to the size. Round off the ends with scissors so it does not dig in when worn.

I was personally happy when this stage was finished. So happy that I forgot to take pictures of the further process in detail. Well everything is simple. Two poodle skirts are cut out - chiffon one and lining fabric one. A chiffon skirt is sewn to the right side of the corset and a cotton skirt (I used it as a lining) to the wrong side. Then the zipper is sewn in. And there is a little left to do - to align the poodle skirt and bend the edge.
My skirt was much longer than me. We had to remove the length by 15 cm, although the calculations were correct.

And finally, the way chiffon is processed. There are no distortions and the best part there is no need to tack in before. So, first we bend by 0.5 cm once and make a stitch at 1 mm from the edge.
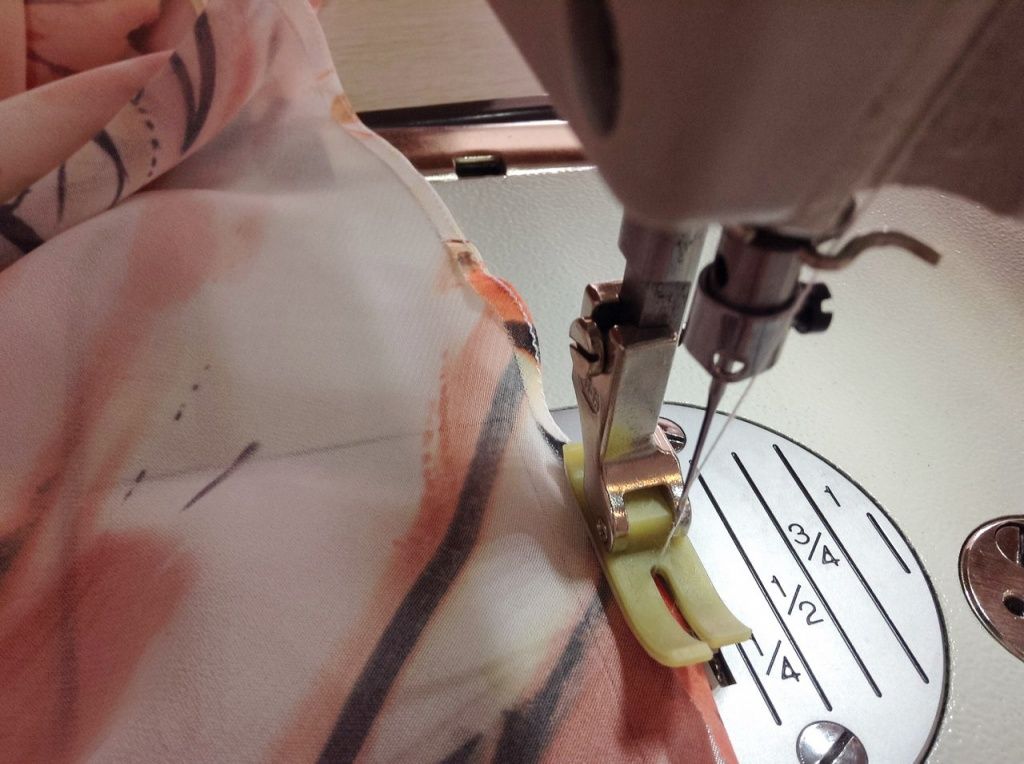
We cut the remaining allowance. And then we bend it again and make the second stitch along the first line.
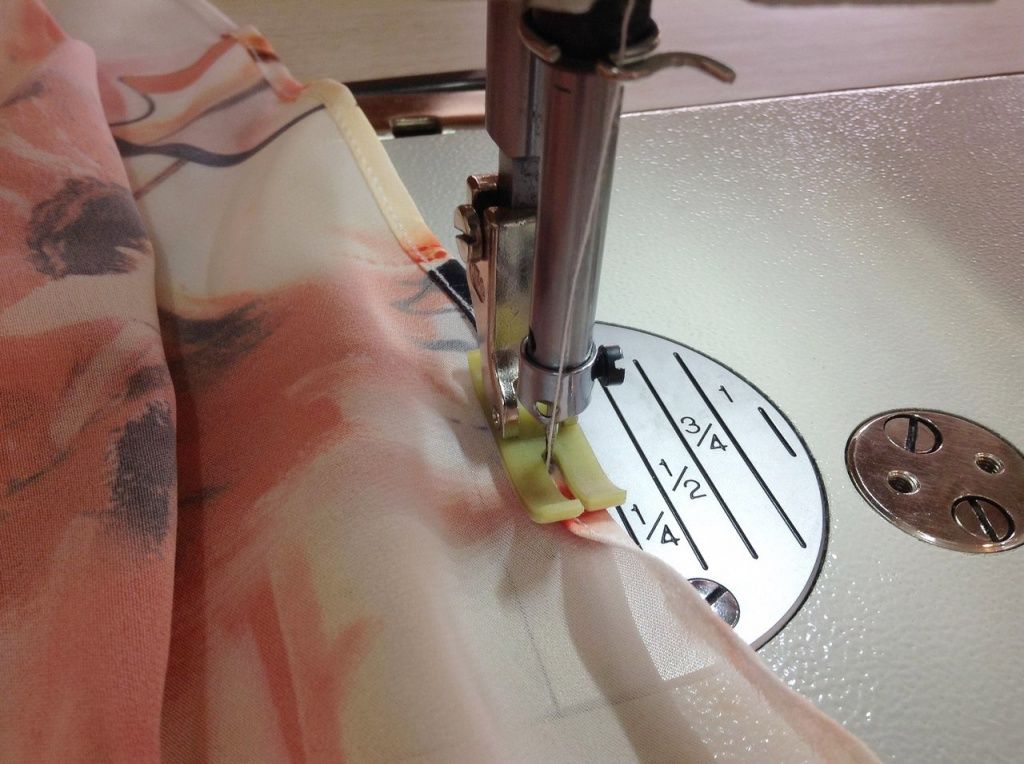
That's it.
Required materials for this dress:
1. Chiffon. The approximate amount is calculated by the formula:
4 * (Skirt length + Waist-line / 2 * 3.14) + 2 (Hem allowance) + 100 (corset fabric)
2. Thick cotton. The approximate amount is calculated by the formula:
4 * (Skirt length + Waist-line / 2 * 3.14)) + 2 (Hem allowance) + 50 (corset fabric - no pleats needed)
3. Zipper 40 to 60 cm
4. Whalebone 1-2 meters
5. Adhesive (little)
Good luck to everyone with your creative endeavours! All sewing patterns in our shop.
